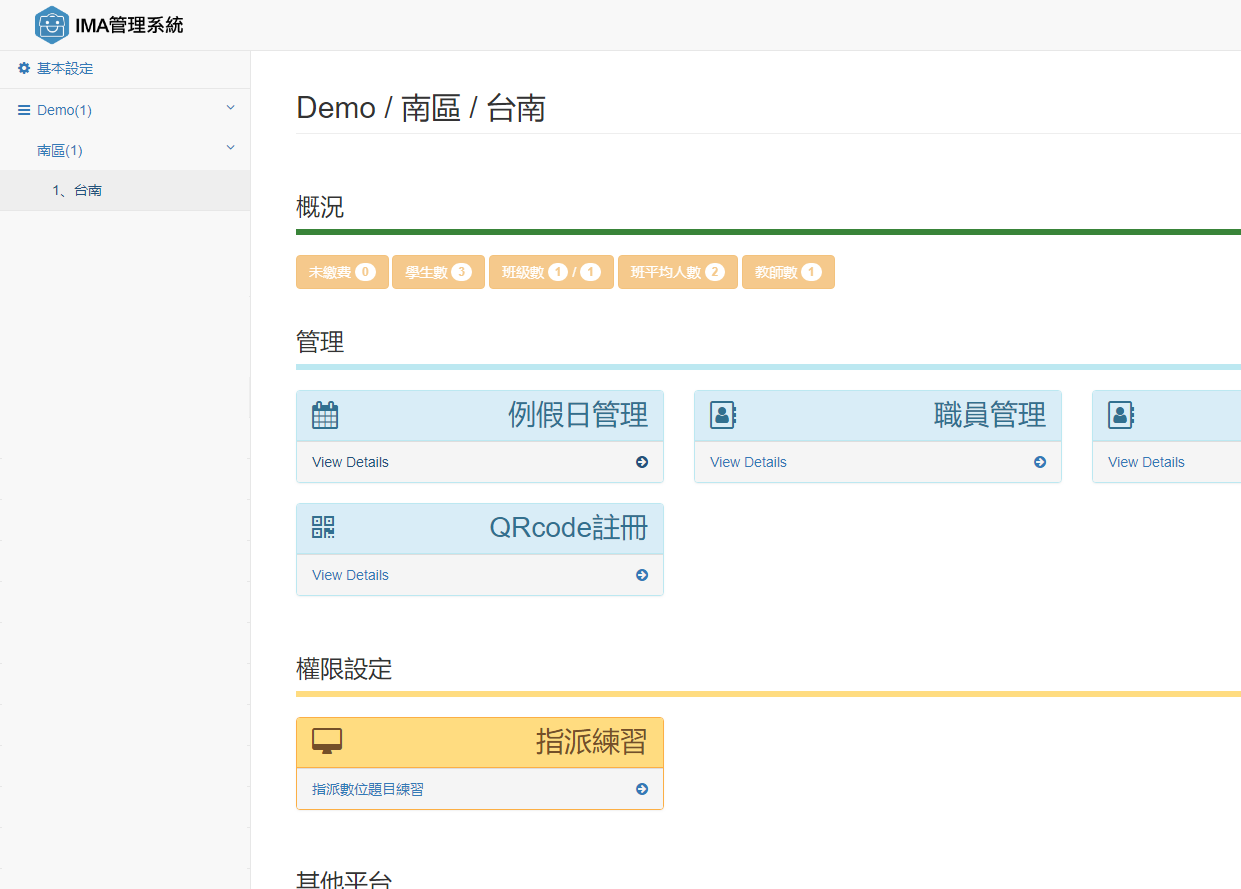
1. Go to Manage Students.
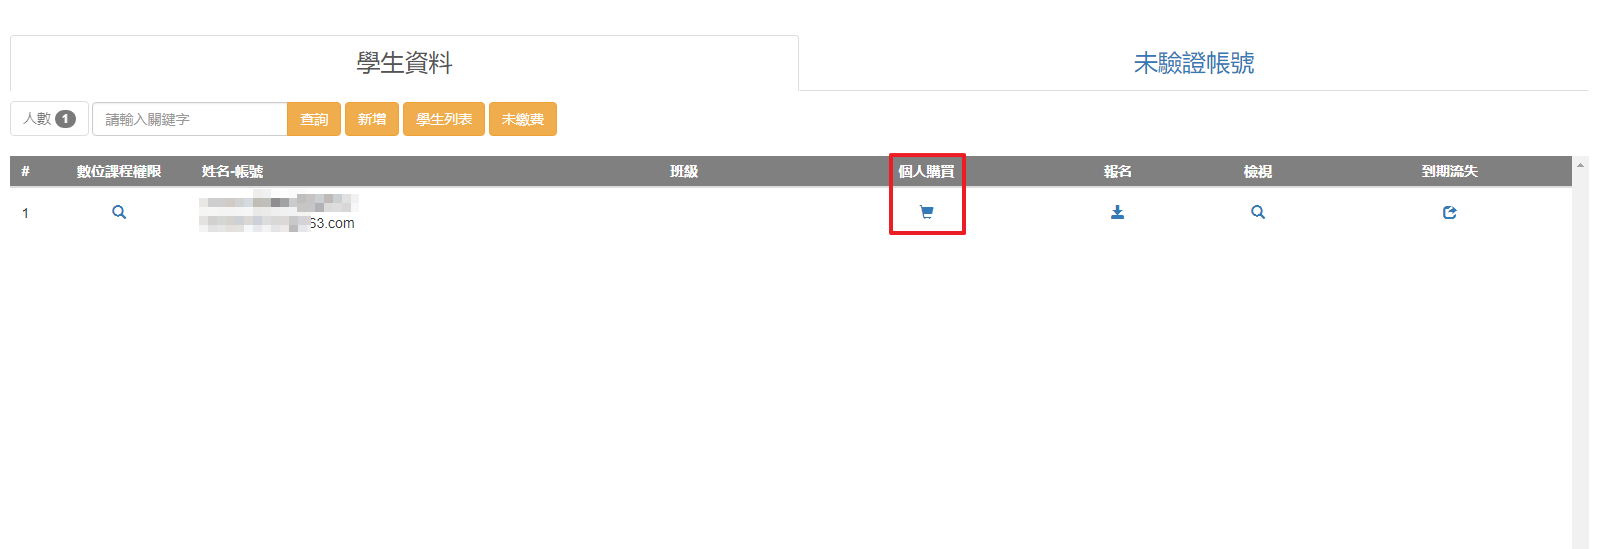
2. Choose the branch supervisor >> Personal Purchase.
3. Choose Available aniMath from the authorizing list >> Click Send.
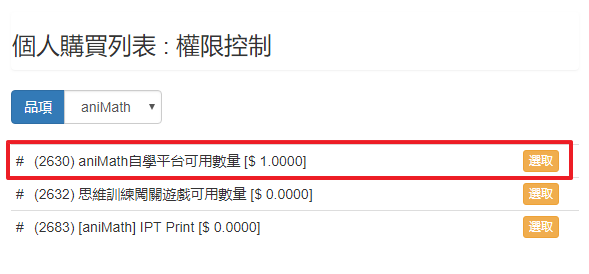
4. Set the number according to the contract >> Send.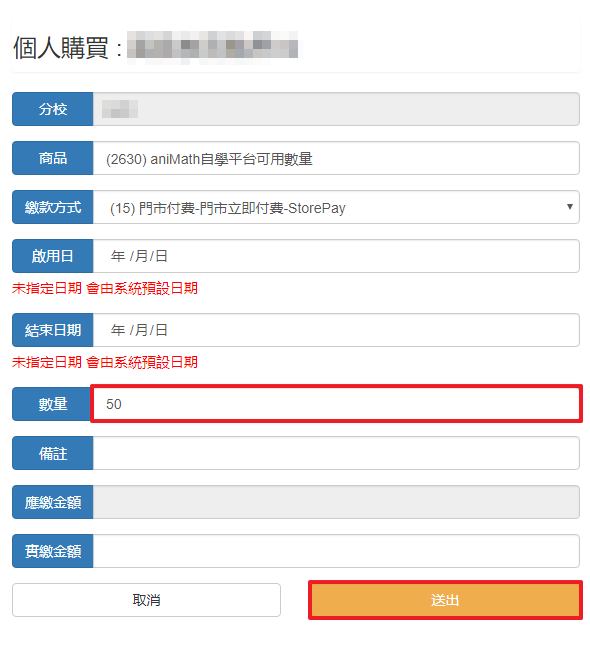
1. Go to Manage Students.
2. Choose the branch supervisor >> Personal Purchase.
3. Choose Available aniMath from the authorizing list >> Click Send.
4. Set the number according to the contract >> Send.
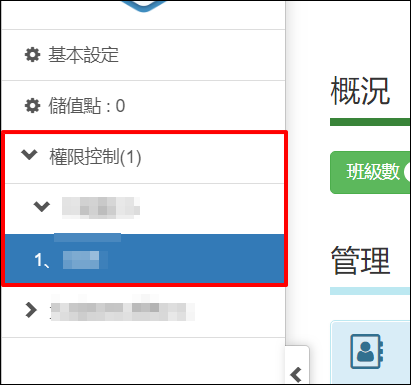
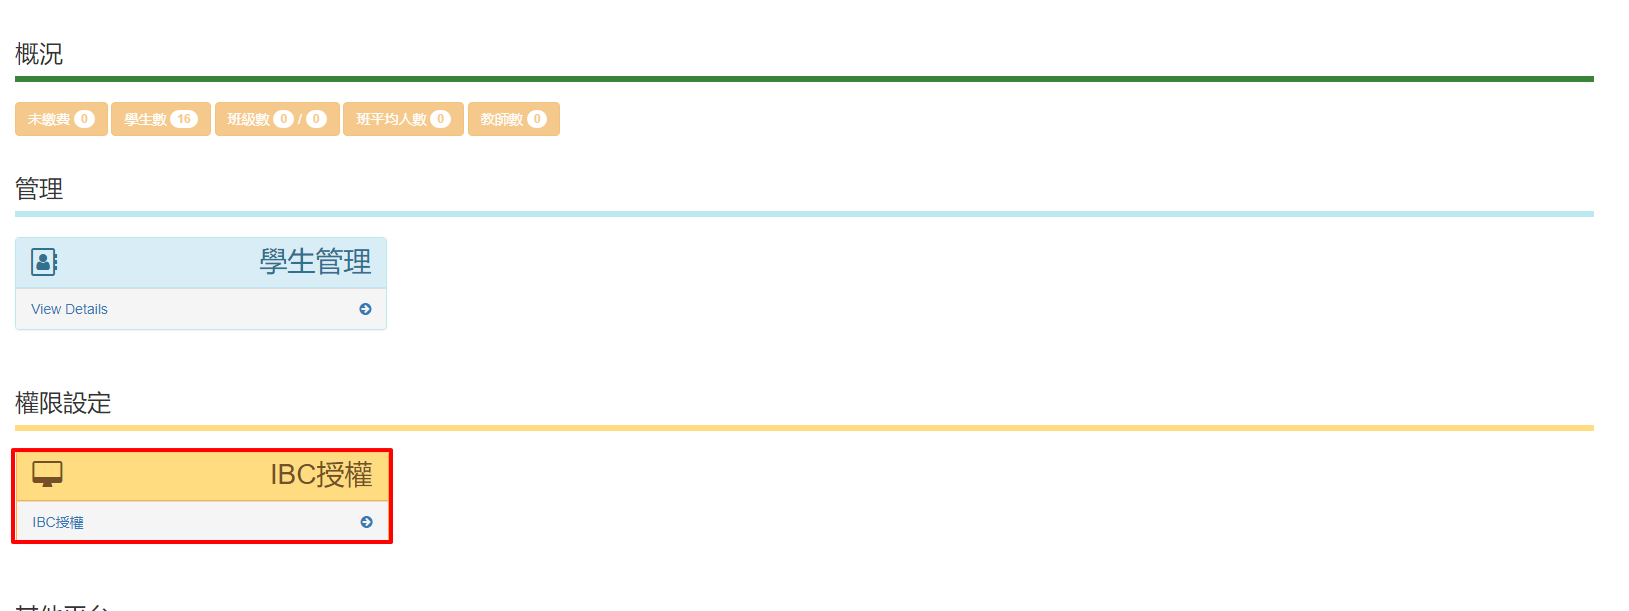
1. Go to the Authorization Control at the bottom left, Go to the company name(Party B in the contract)
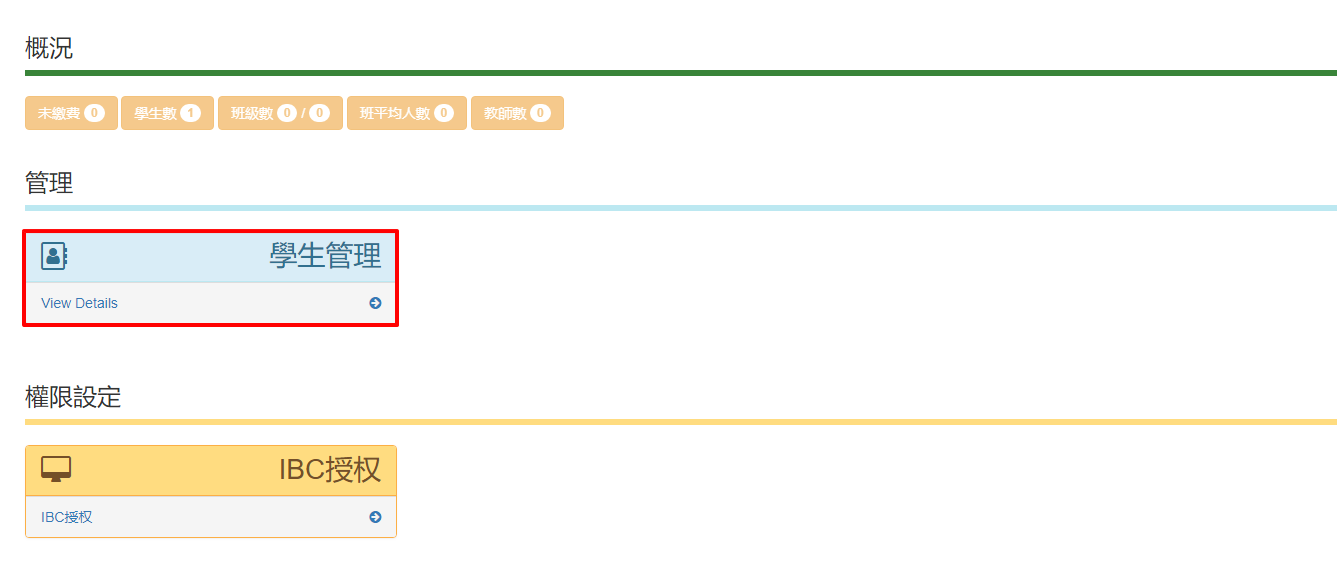
2. Go to Manage Students.
3. Choose the branch supervisor>>Personal Purchase.
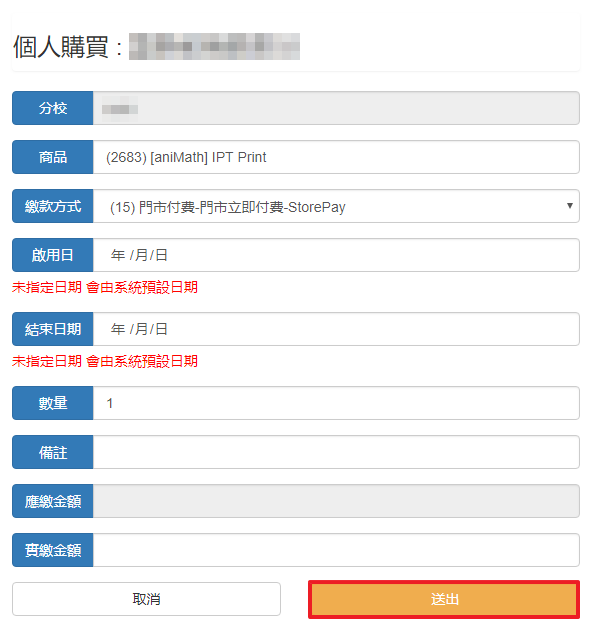
4. Choose [aniMath] IPT Print from the authorizing list >>Click Send.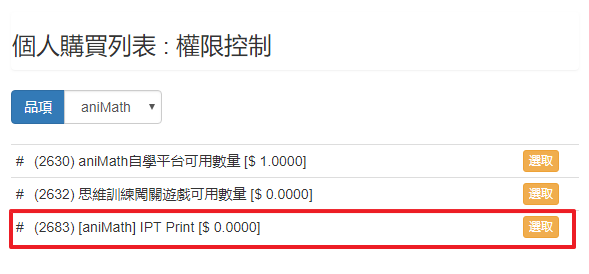
1. Log in the IMA with management username/passwords.
2. Go to the Authorization Control at the bottom left, Go to the company name (Party B in the contract)
5. Go to Authorizing List (Items may differ due to different authorized services, languages, etc.)
6. System will list the available number of authorizations.
Available: The remaining number of authorizations
Unavailable: The number already authorized
Authorize: Add new user
History: List of authorized users
7. Authorize >> Choose the branch supervisor(username) >>Send >>Complete.
(Note: Please pay attention to your available number of authorizations.)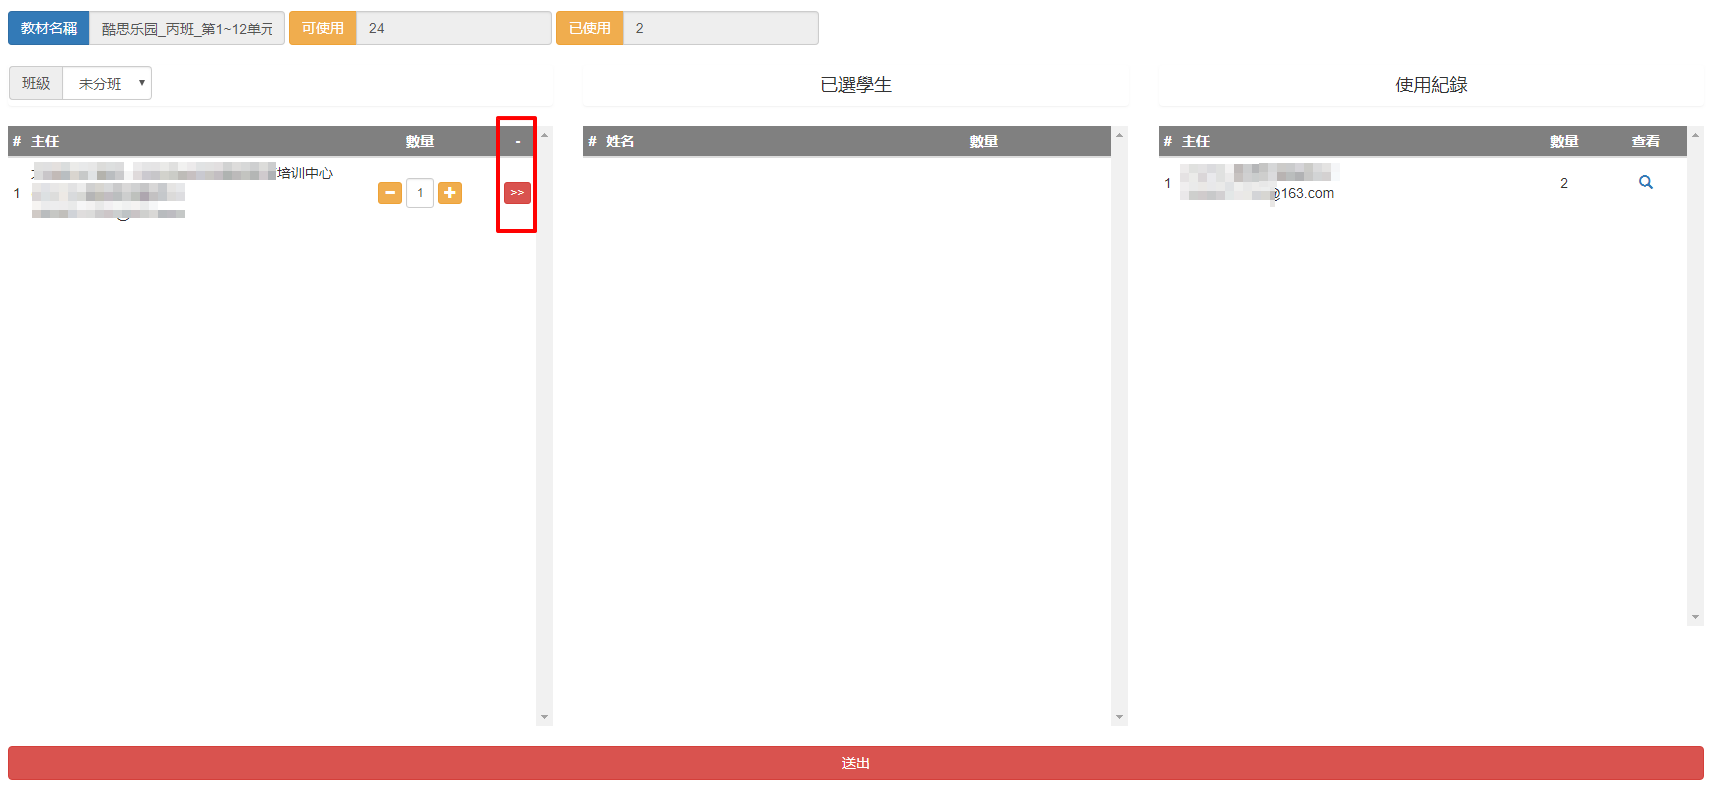
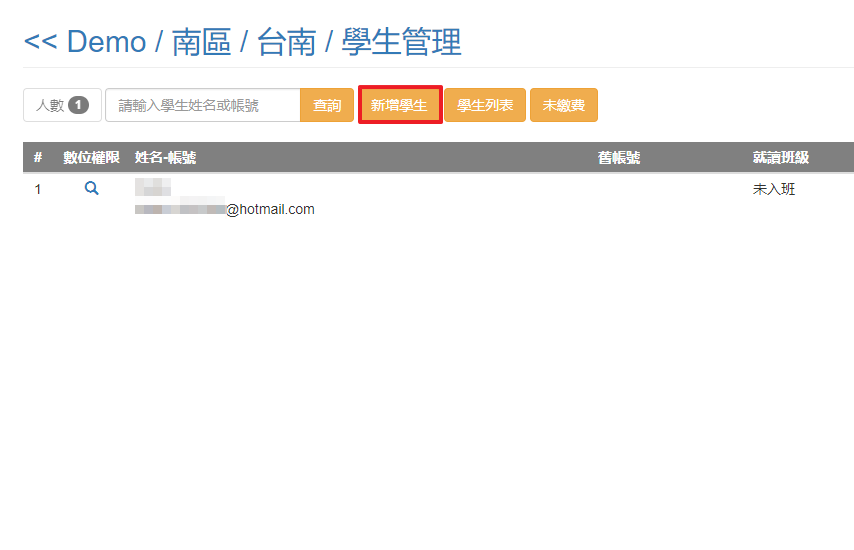
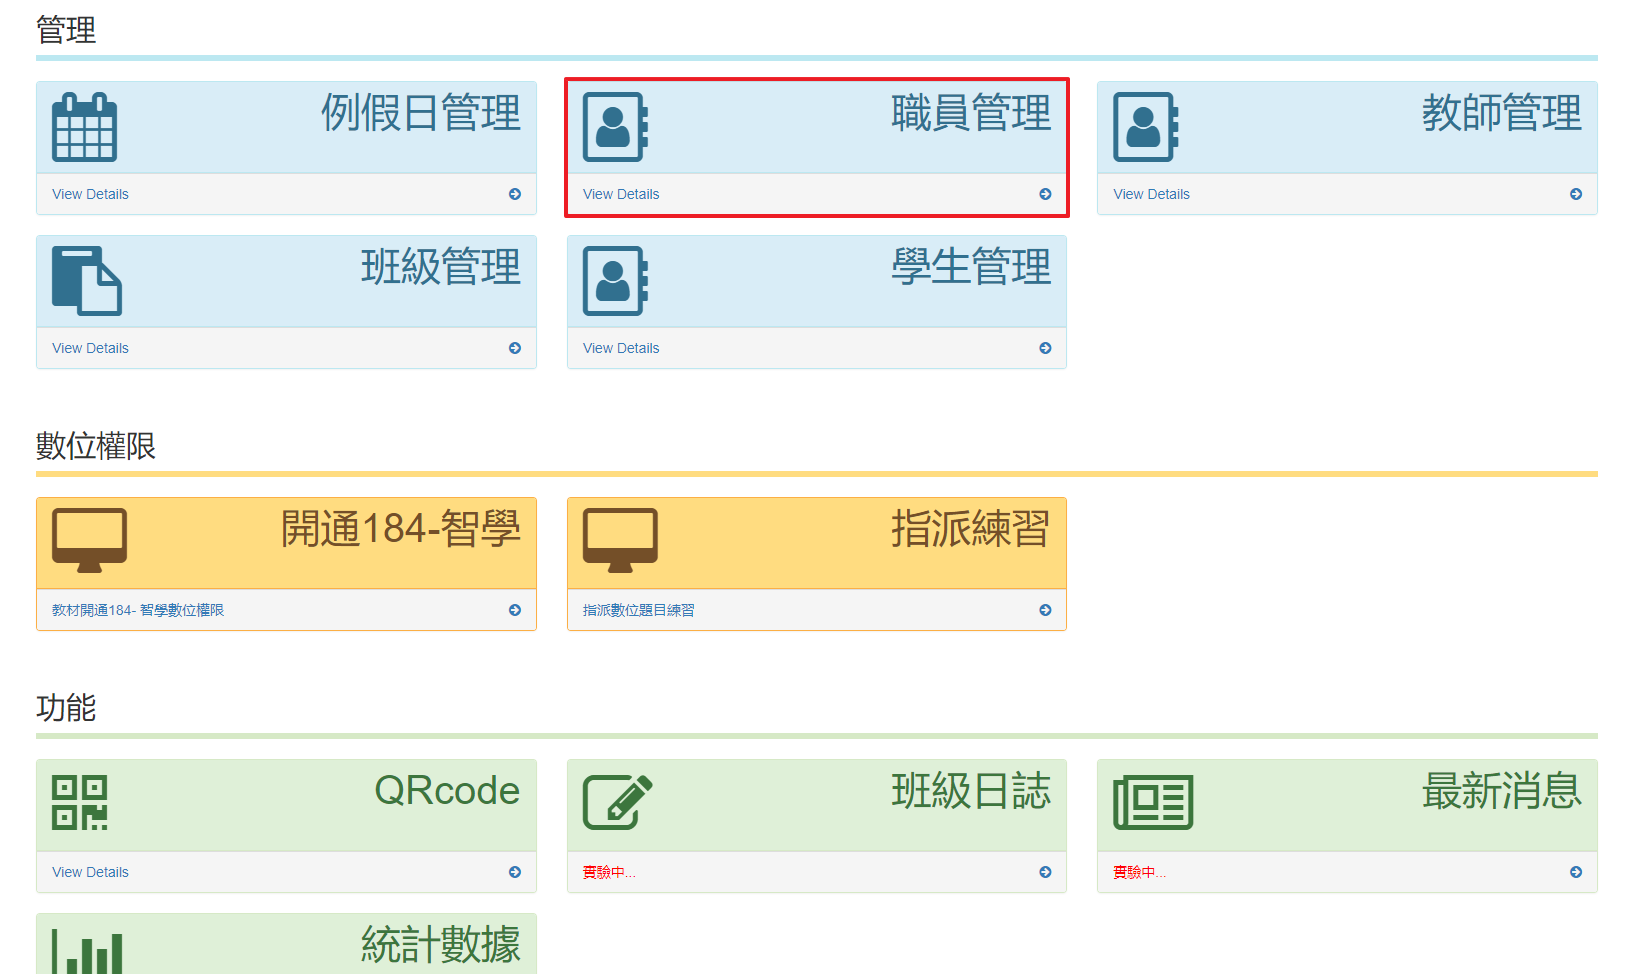
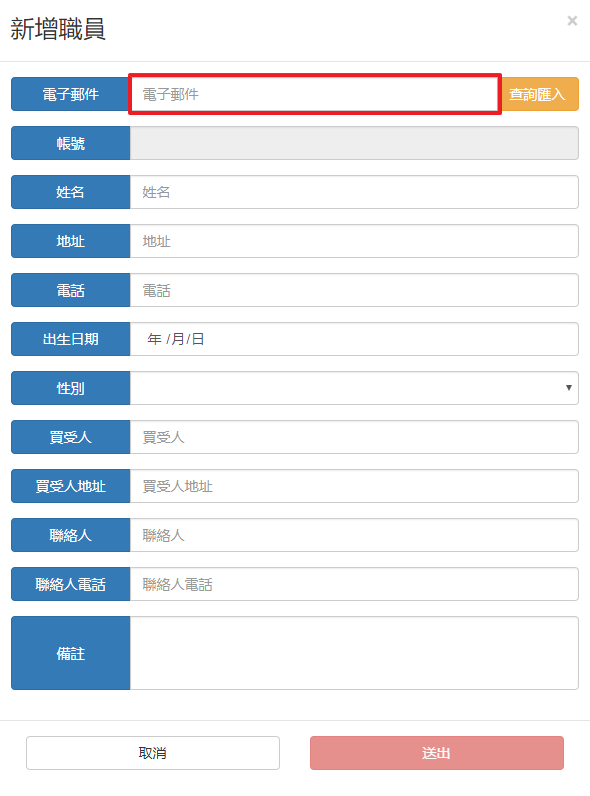
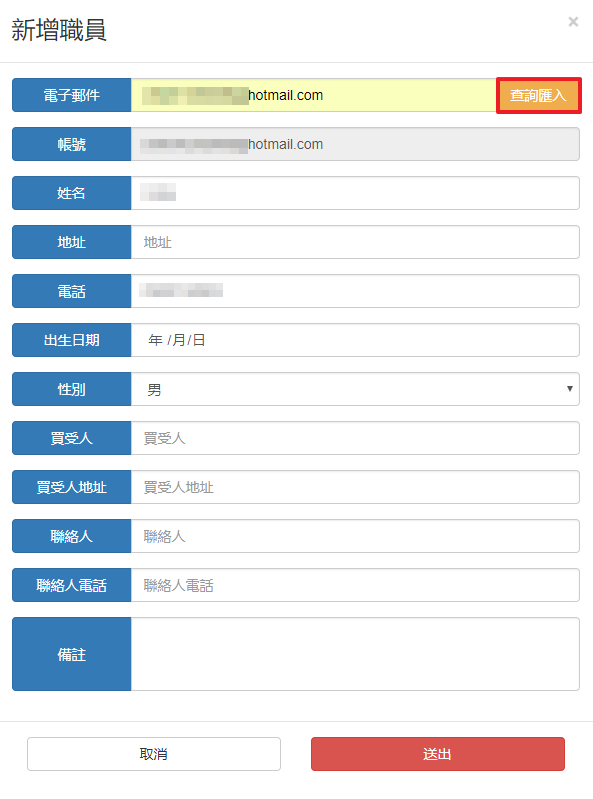
1. Log in the IMA with management username/passwords>>Click Manage Staffs.
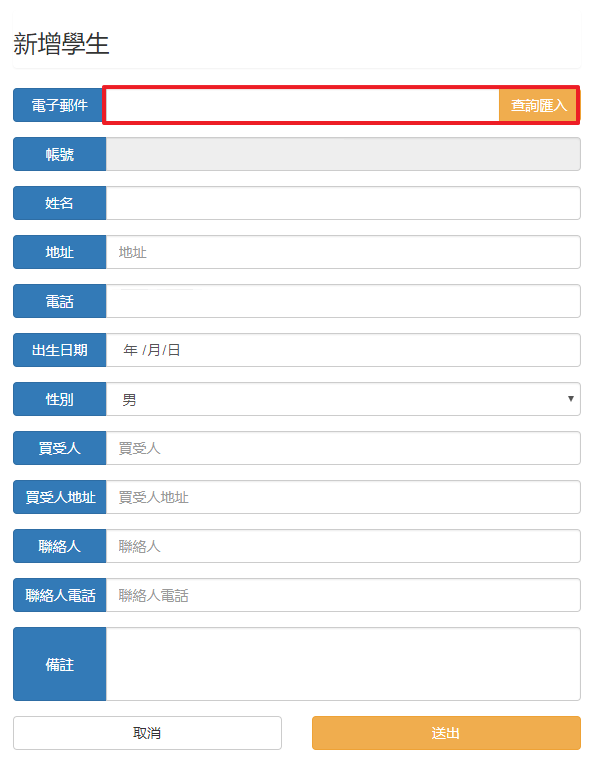
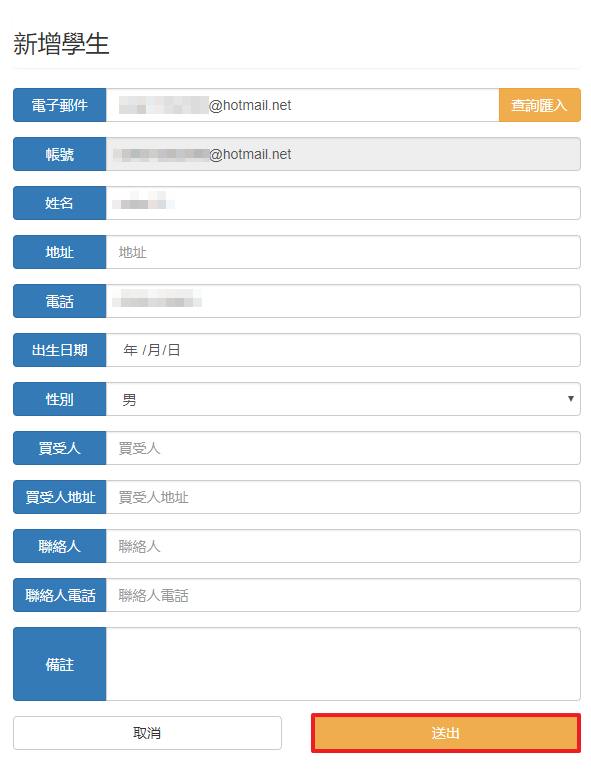
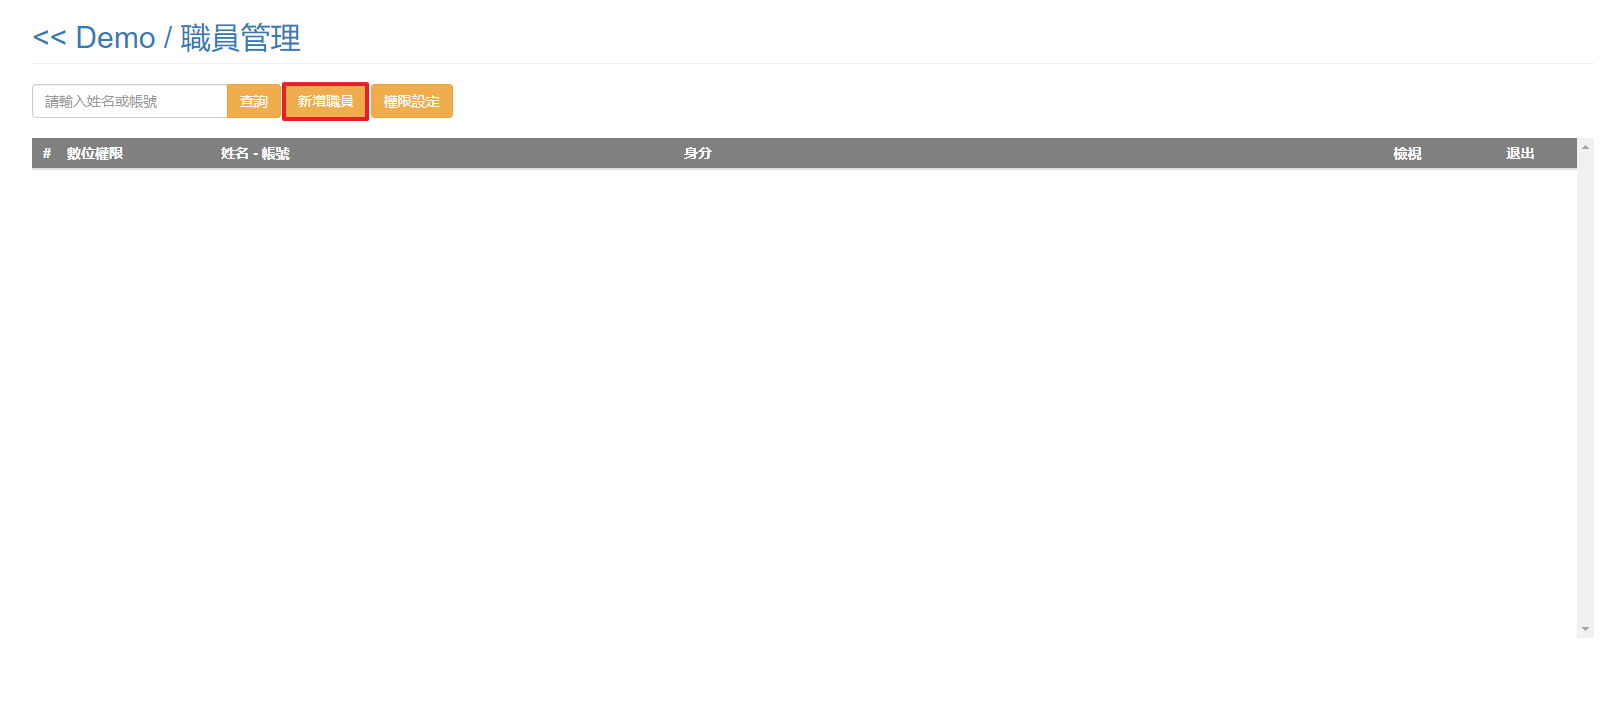
2. Click Add New Staffs >> Fill in the registered username (E-mail) >> Click Search and Import >> Confirm the information >> Click Send.
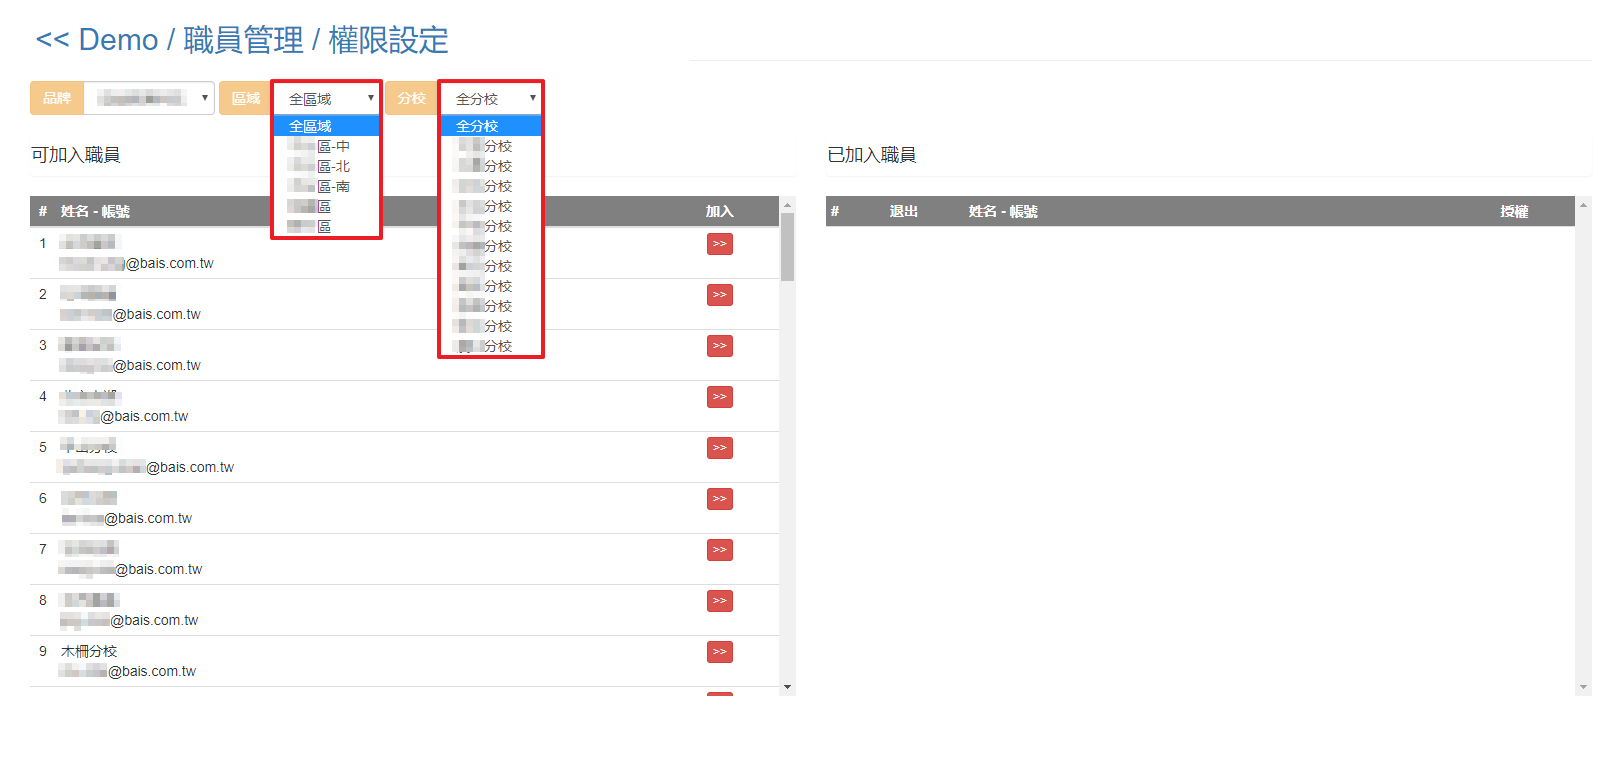
3. Click Manage Staffs >>Authority Settings >> Choose the brand/region and branch of each staff.

2. Find the their username on Staff List >>Add >>Check Supervisor in Authority Setting.
(Note: After setting authority, staffs can login the IMA(staff) with their aniMath username/passwords; only supervisors(checked) can manage classes.)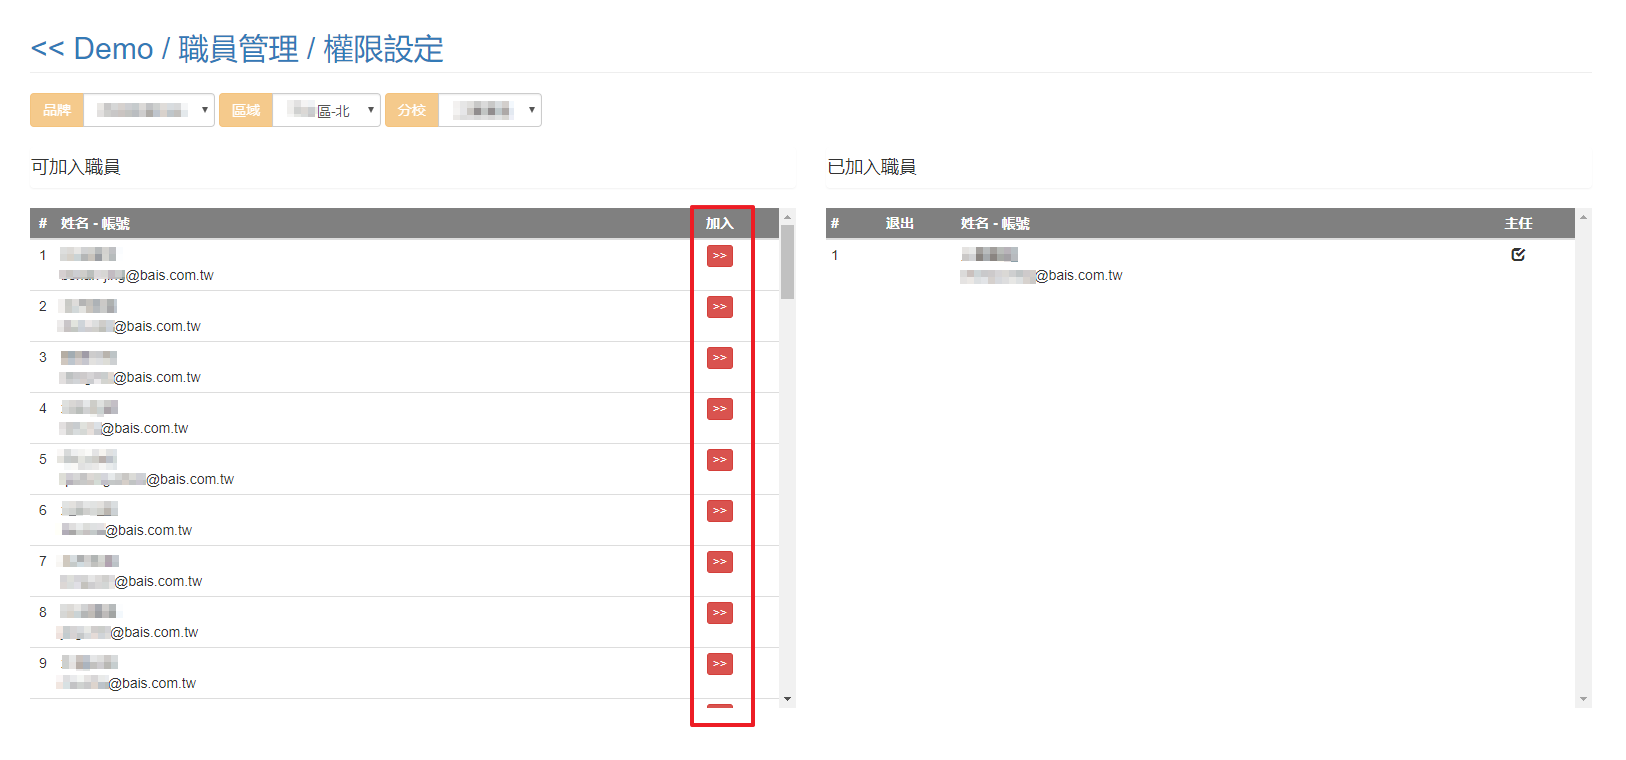
1. Log in the IMA system https://ima.ebais.net/
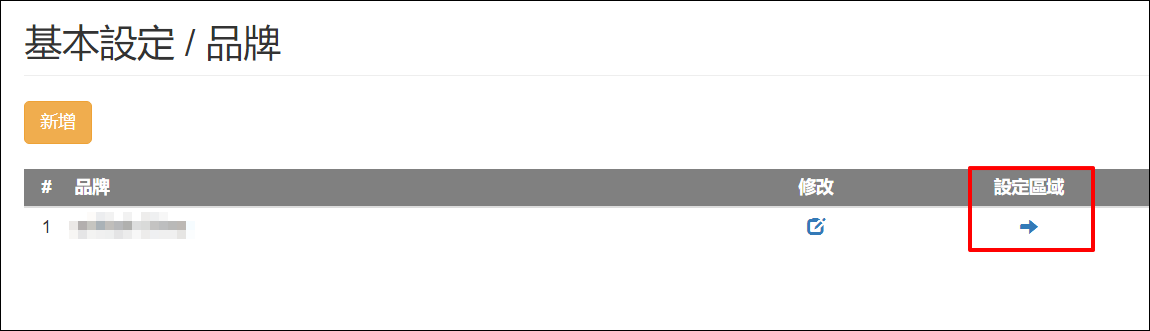
2. Enter management username/passwords>>Click Setting on the top left corner.

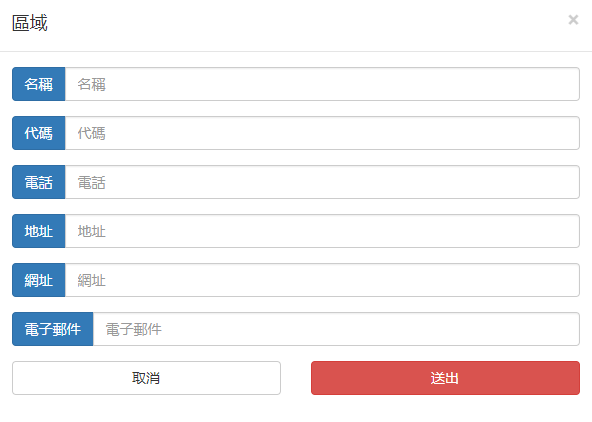
3. Click Add Region>>Fill in the information>>Send.
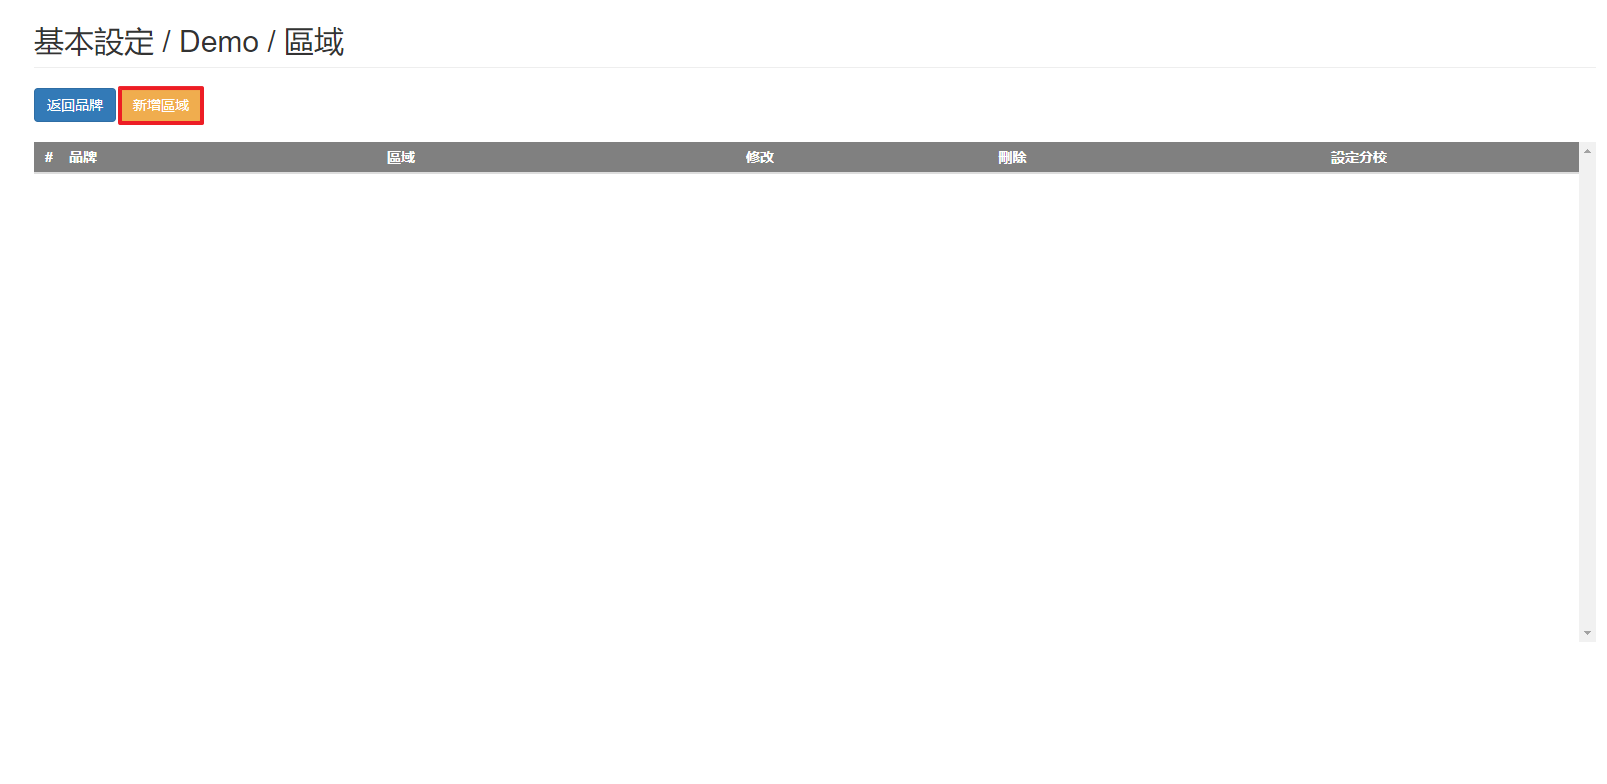
4. After sending, the new region will show in the region list. Now, proceed to adding new branches.
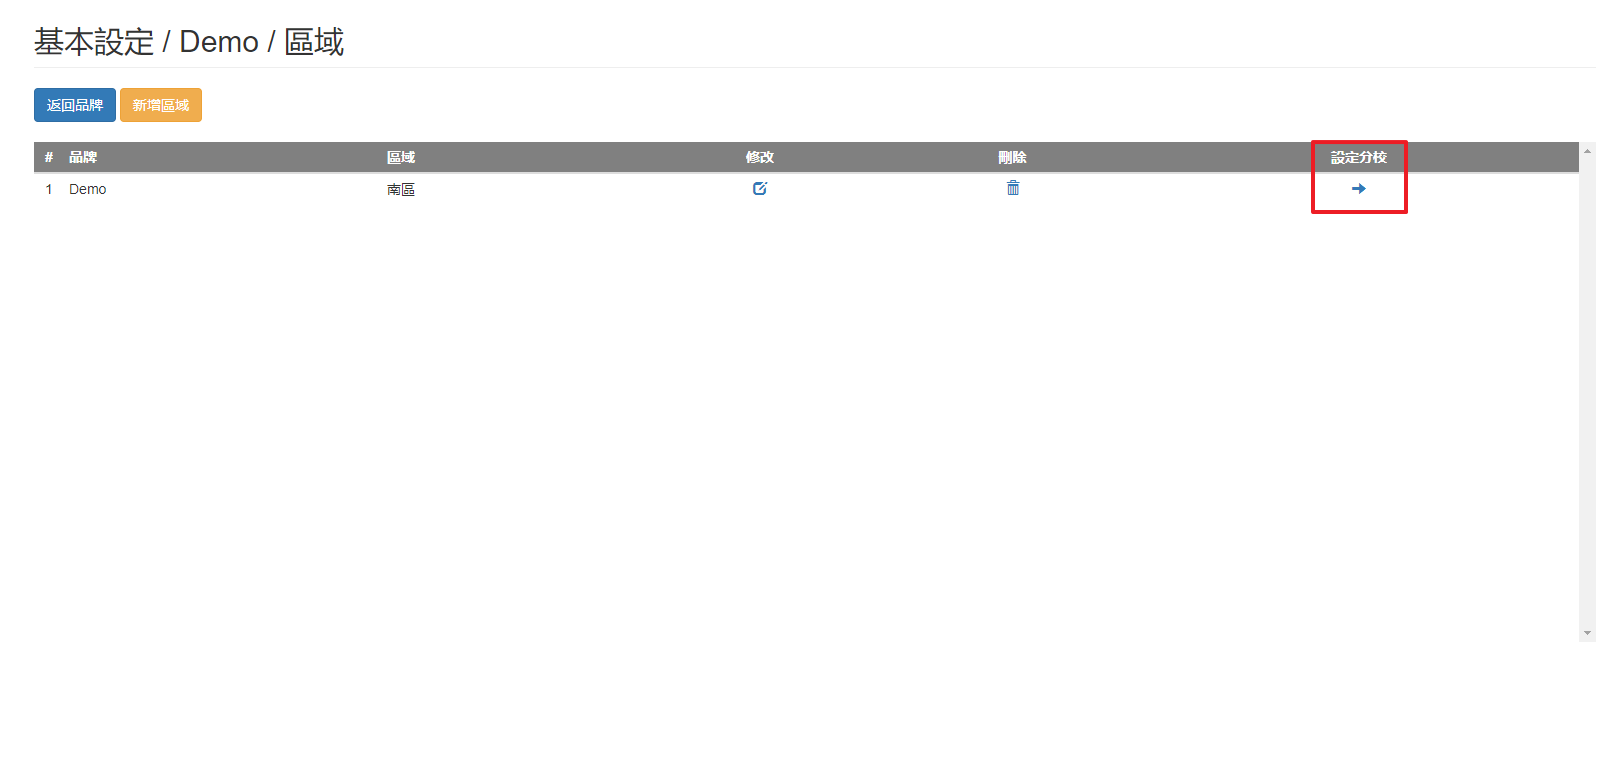
5. Click Add Branch>>Fill in the information>>Send.
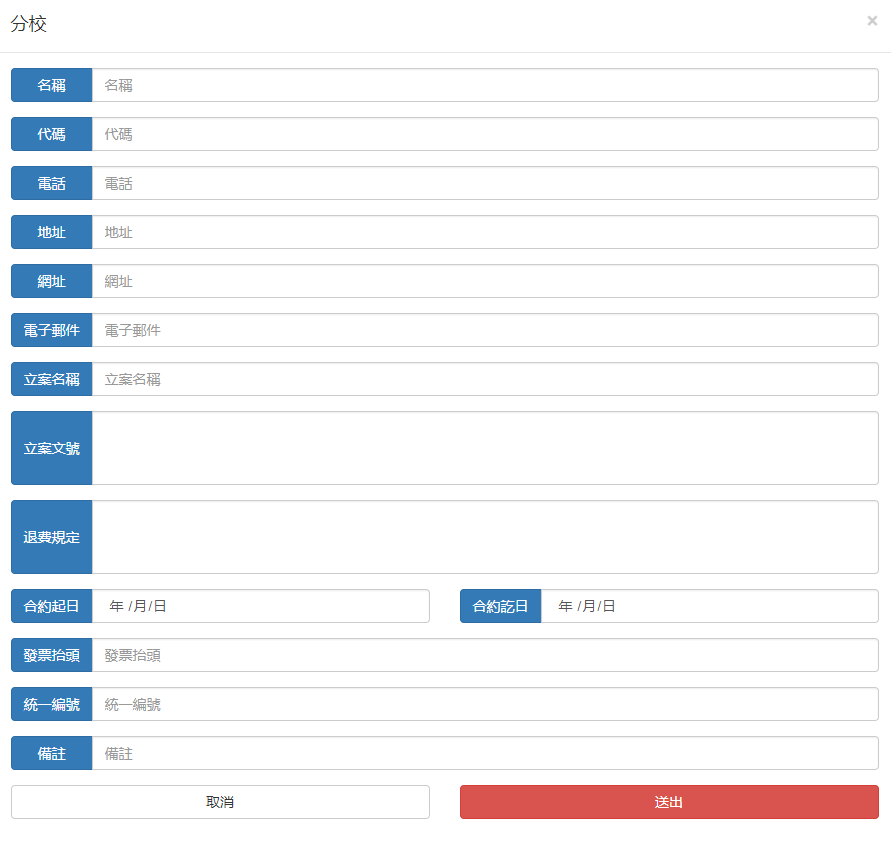
6. Set the contracted period on the list>>Send.
(Only within the contracted period the branches can activate their authorization/login/get their code)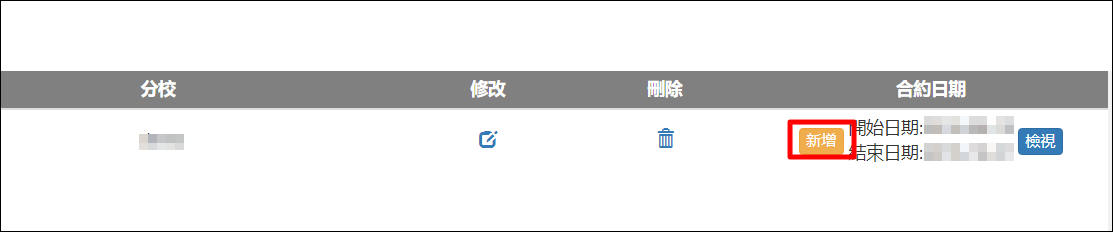
7. Complete brands, regions and branches setting。