Latest version of IBC is ver3.4.1 (update log)
※Note:Before you install IBC3.4.1, please uninstall the previous version properly.
(If you cannot uninstall it properly, pleas check:How to uninstall IBC)
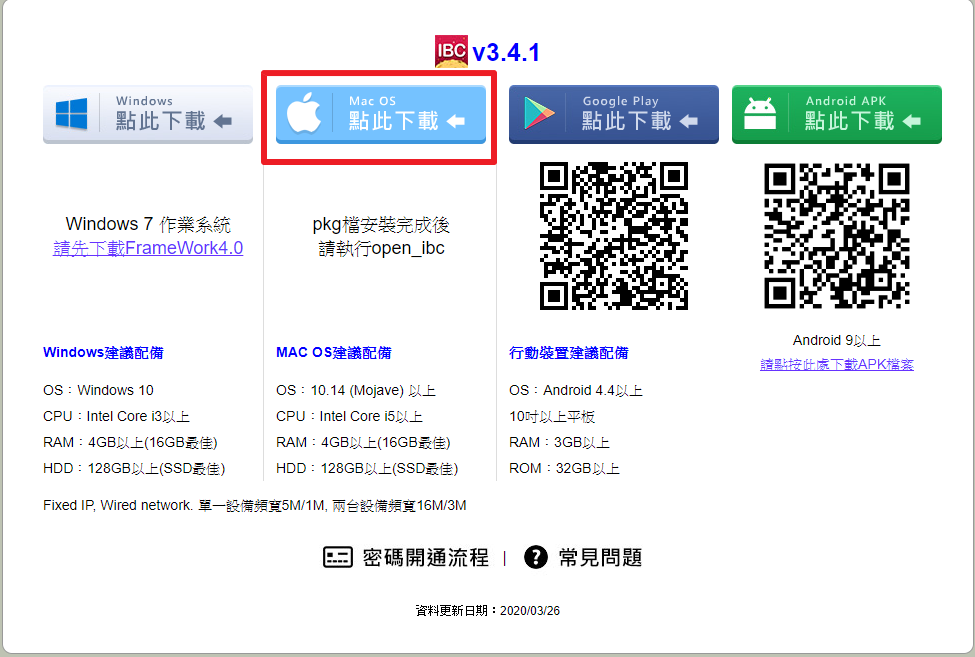
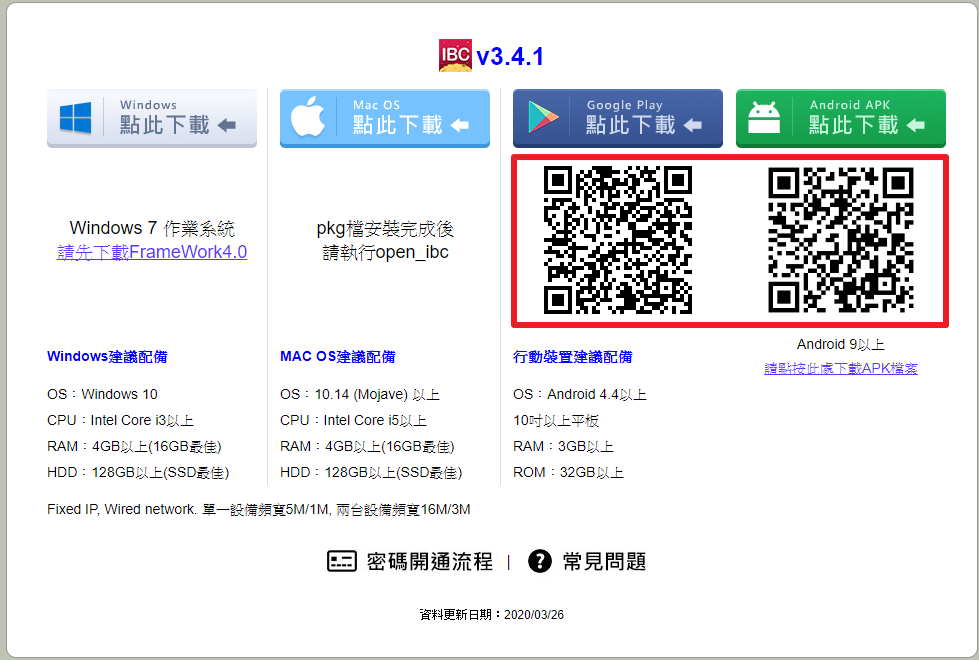
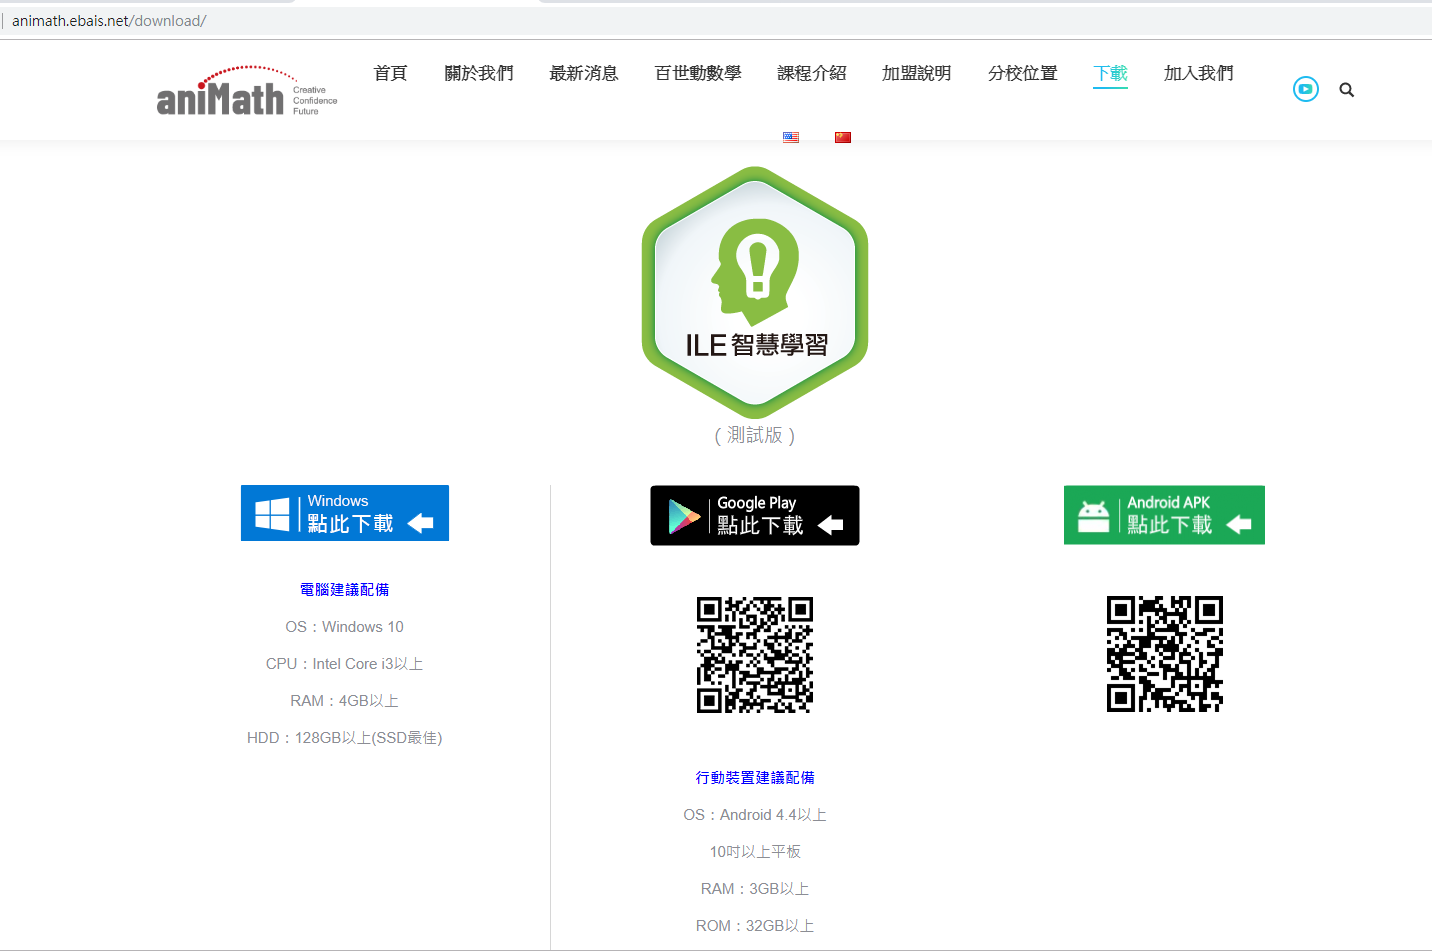
1. Please click the download link:
https://goo.gl/odT8Mo 或 (https://ibc.ebais.net/help.php?act=ibc)
Download and execute IBC-3.4.1.exe . (you can also copy the link and open it in your browser.)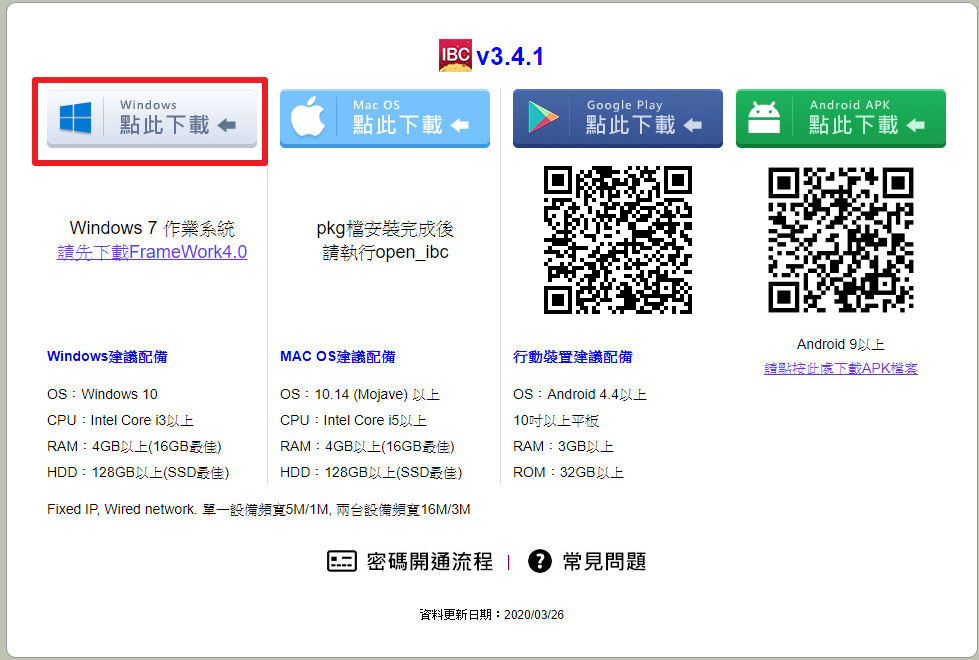
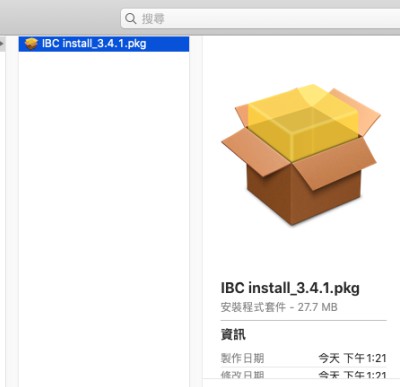
2. Download and execute IBC-3.4.1.exe

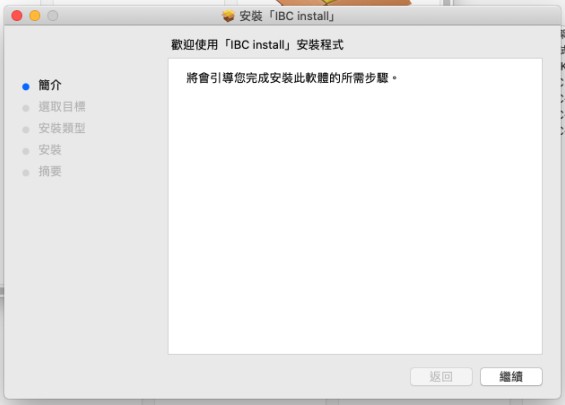
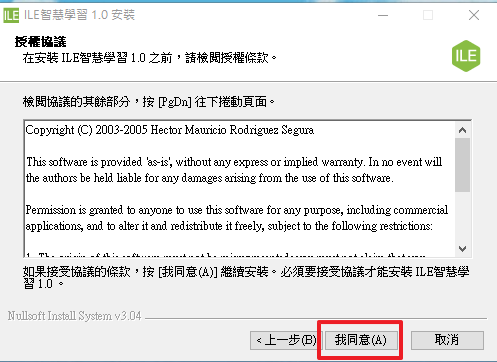
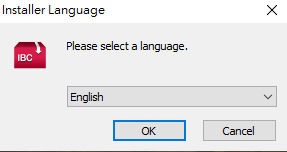
3. Select your preferred language.
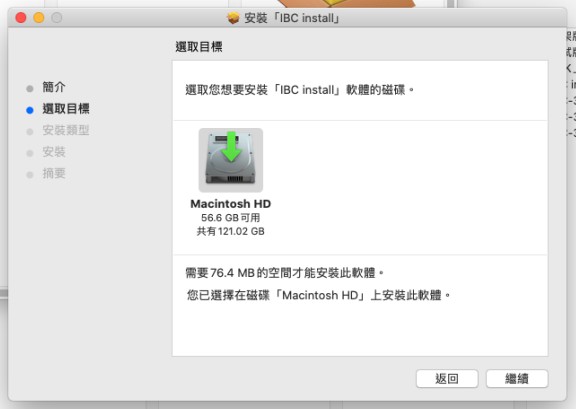
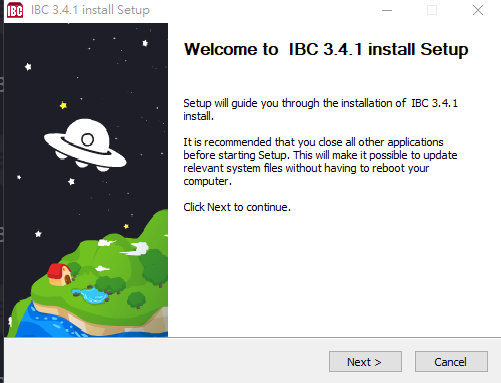
4. Click Next Step to install.
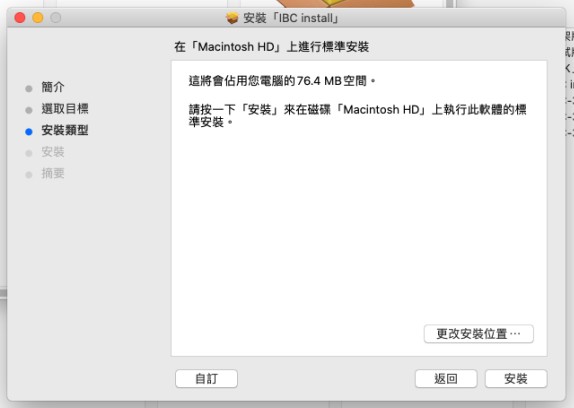
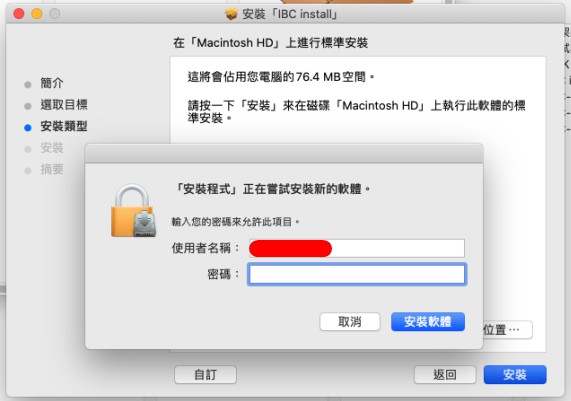
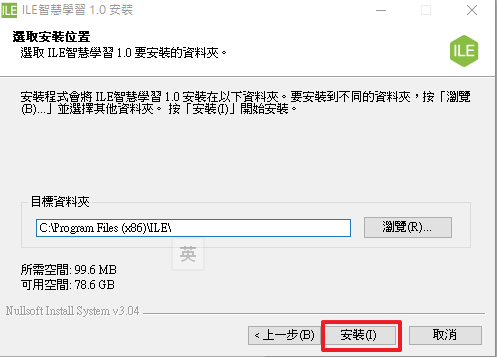
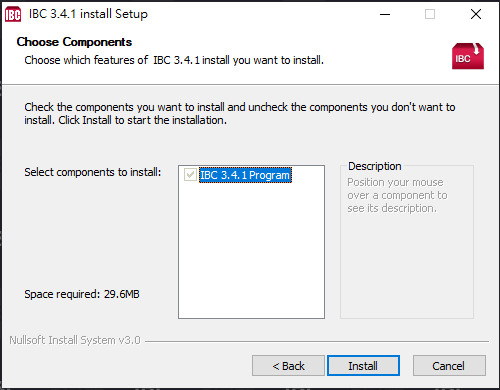
5. Click Install
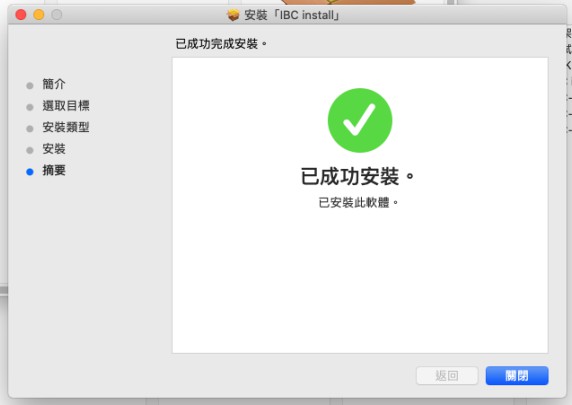
6. Complete install, click Close.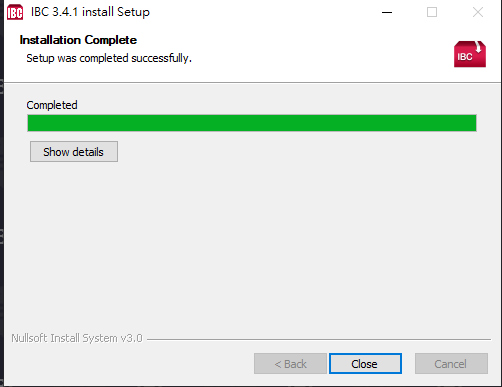
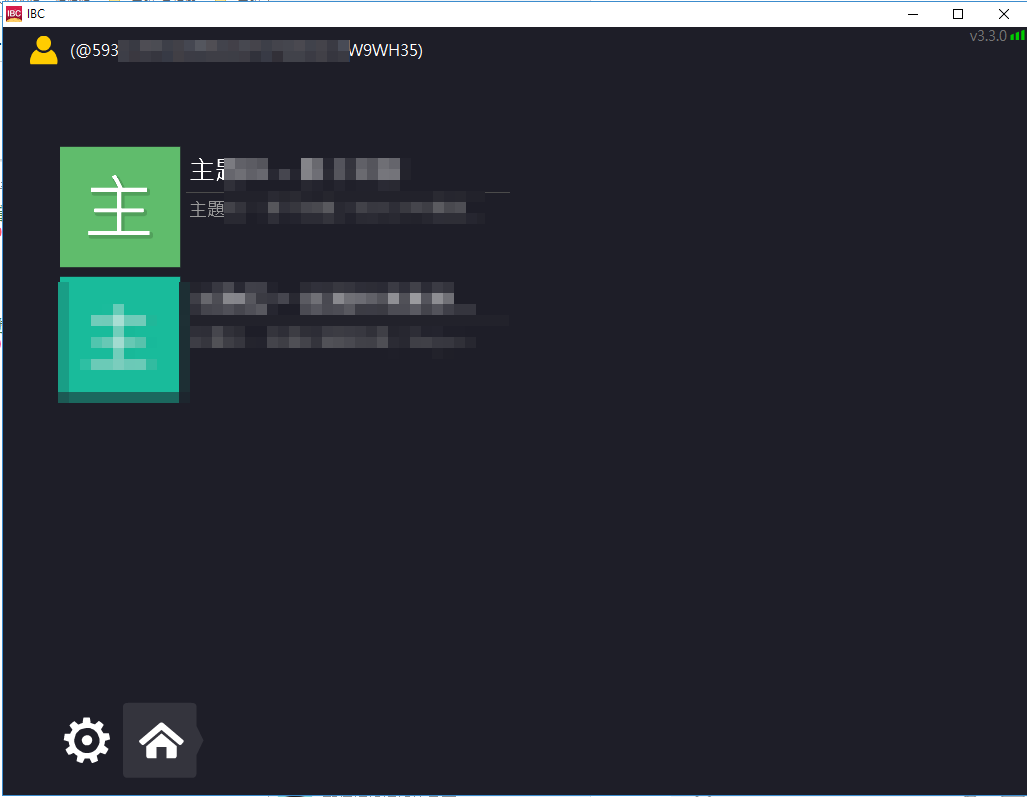
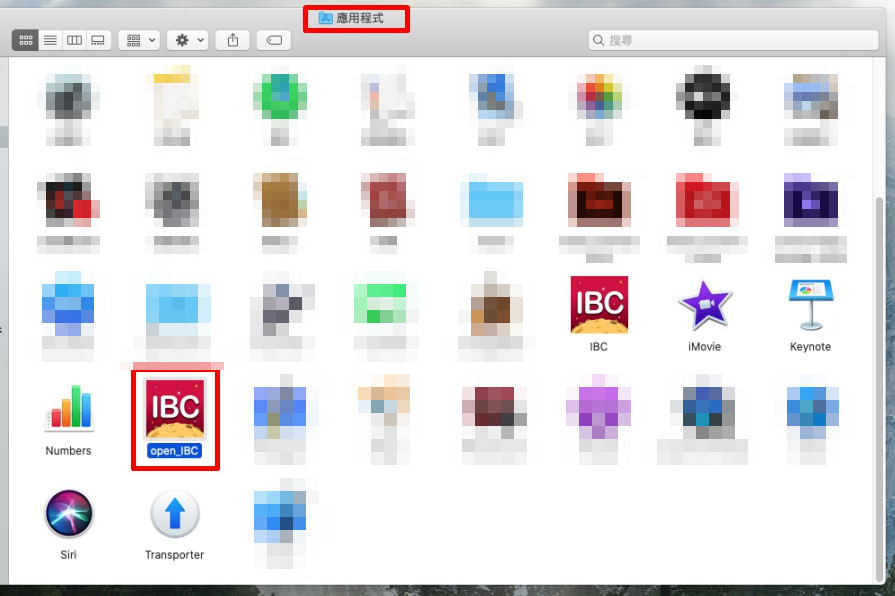
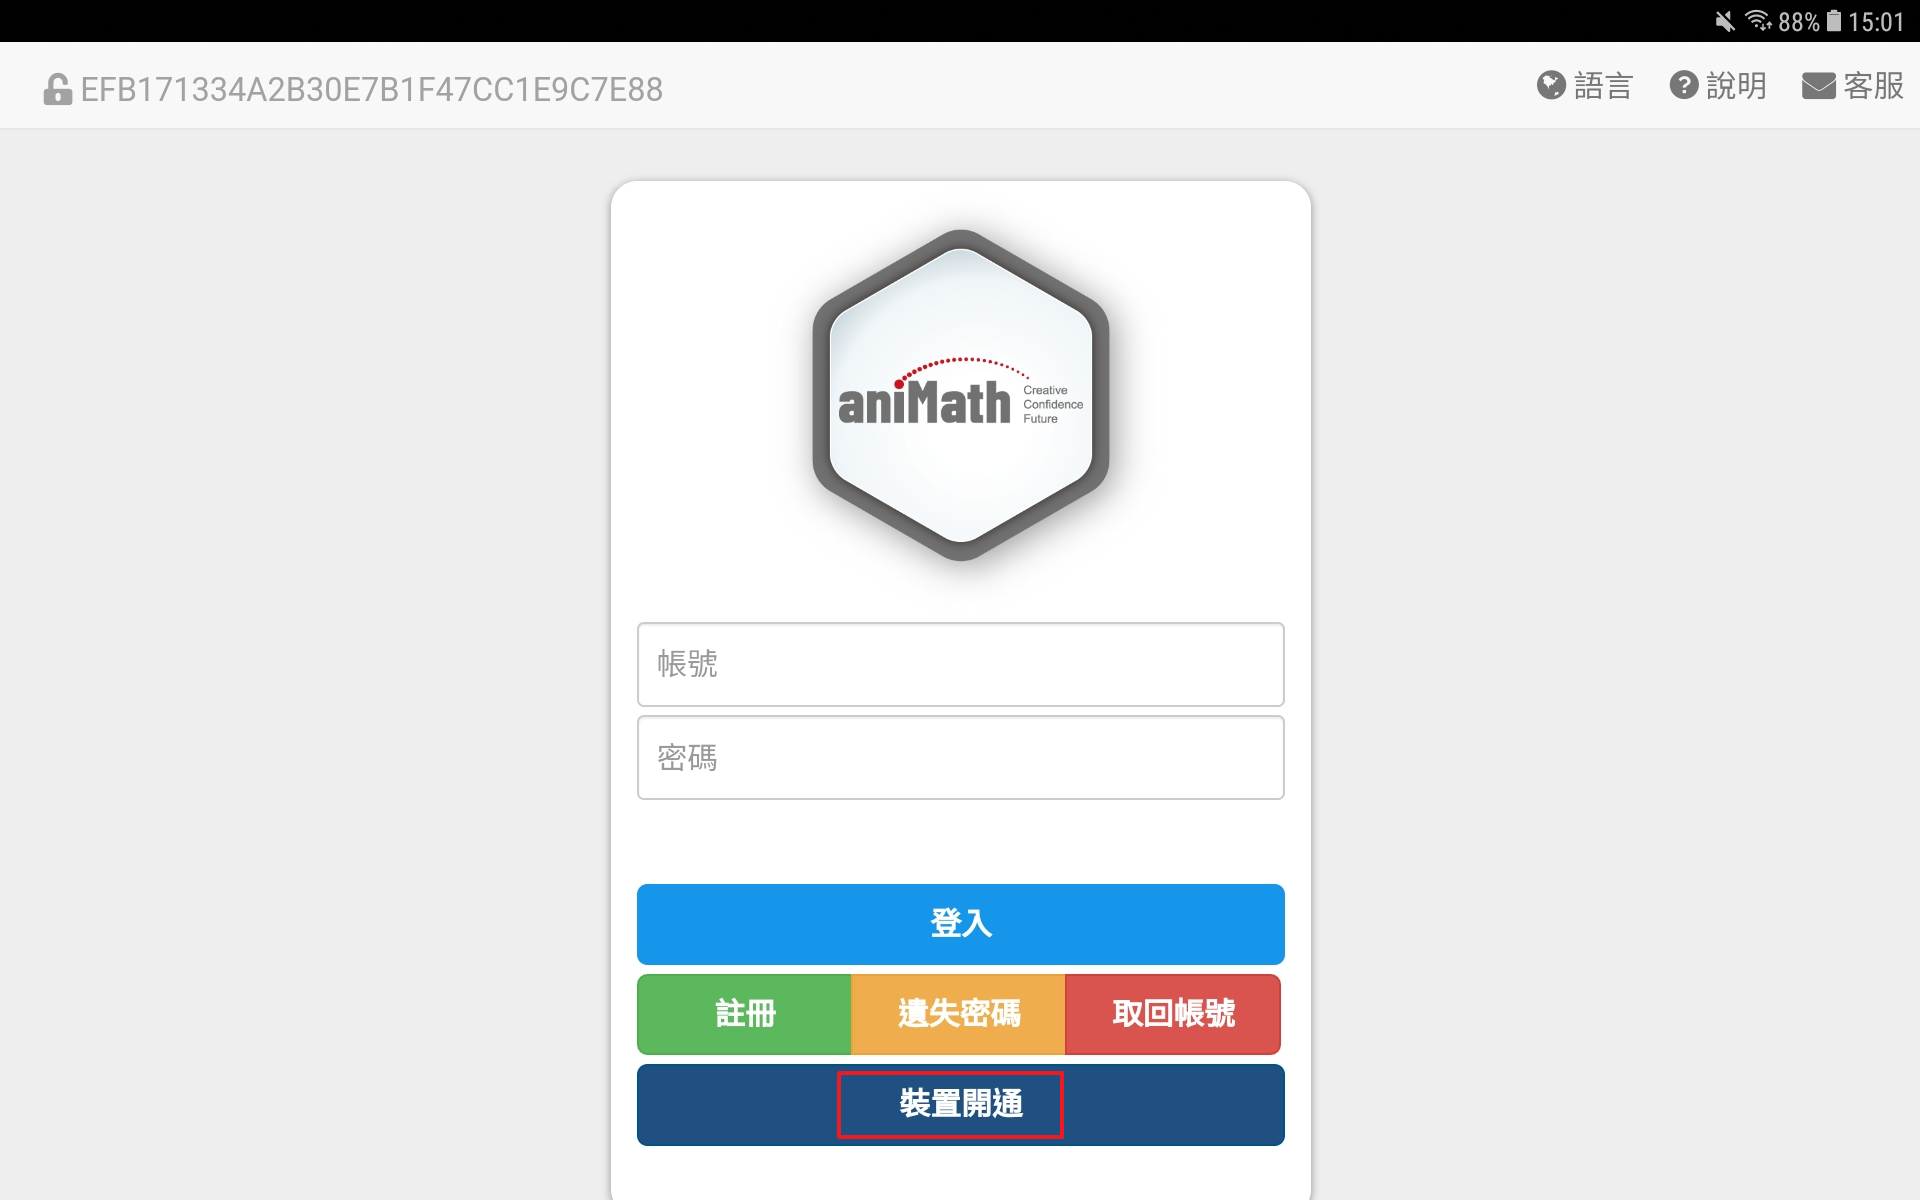
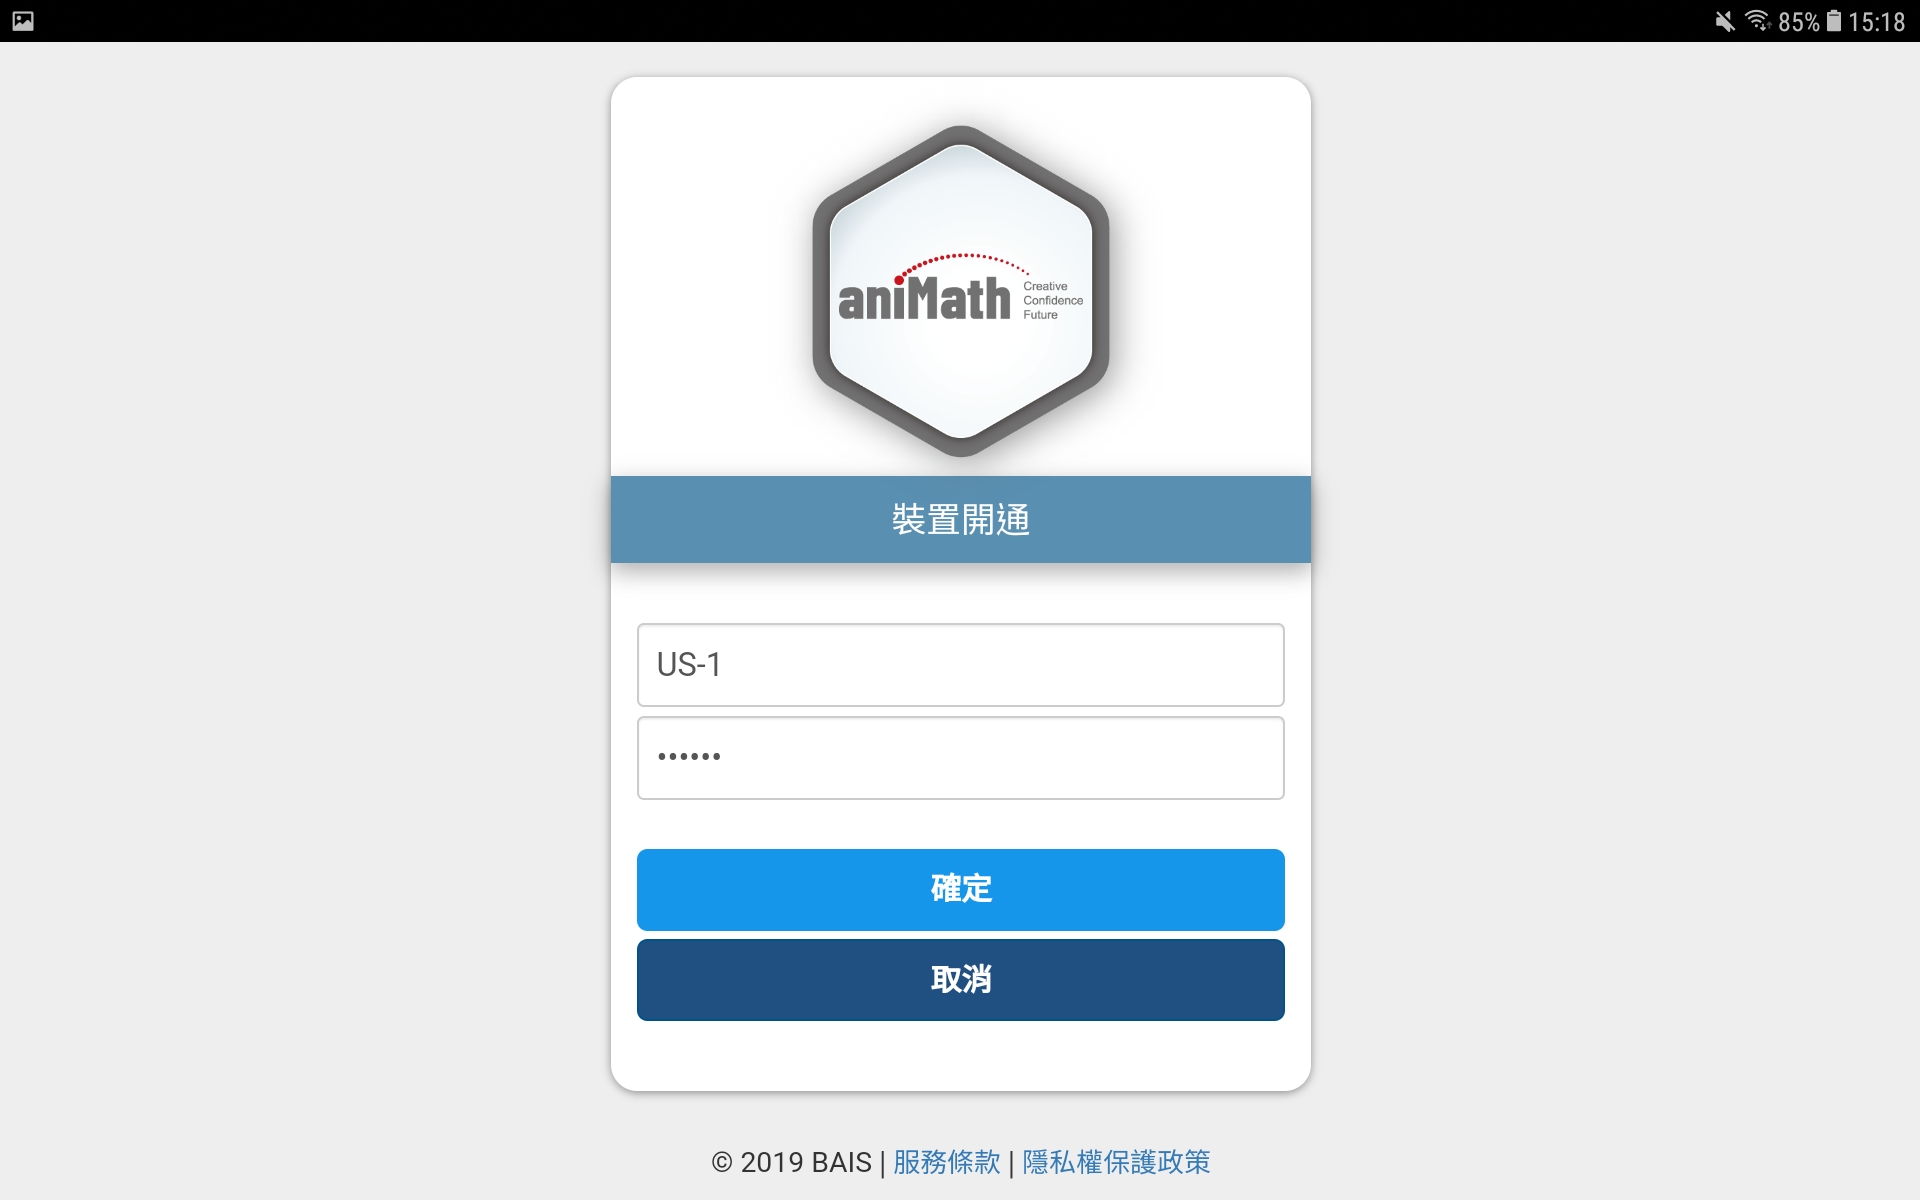
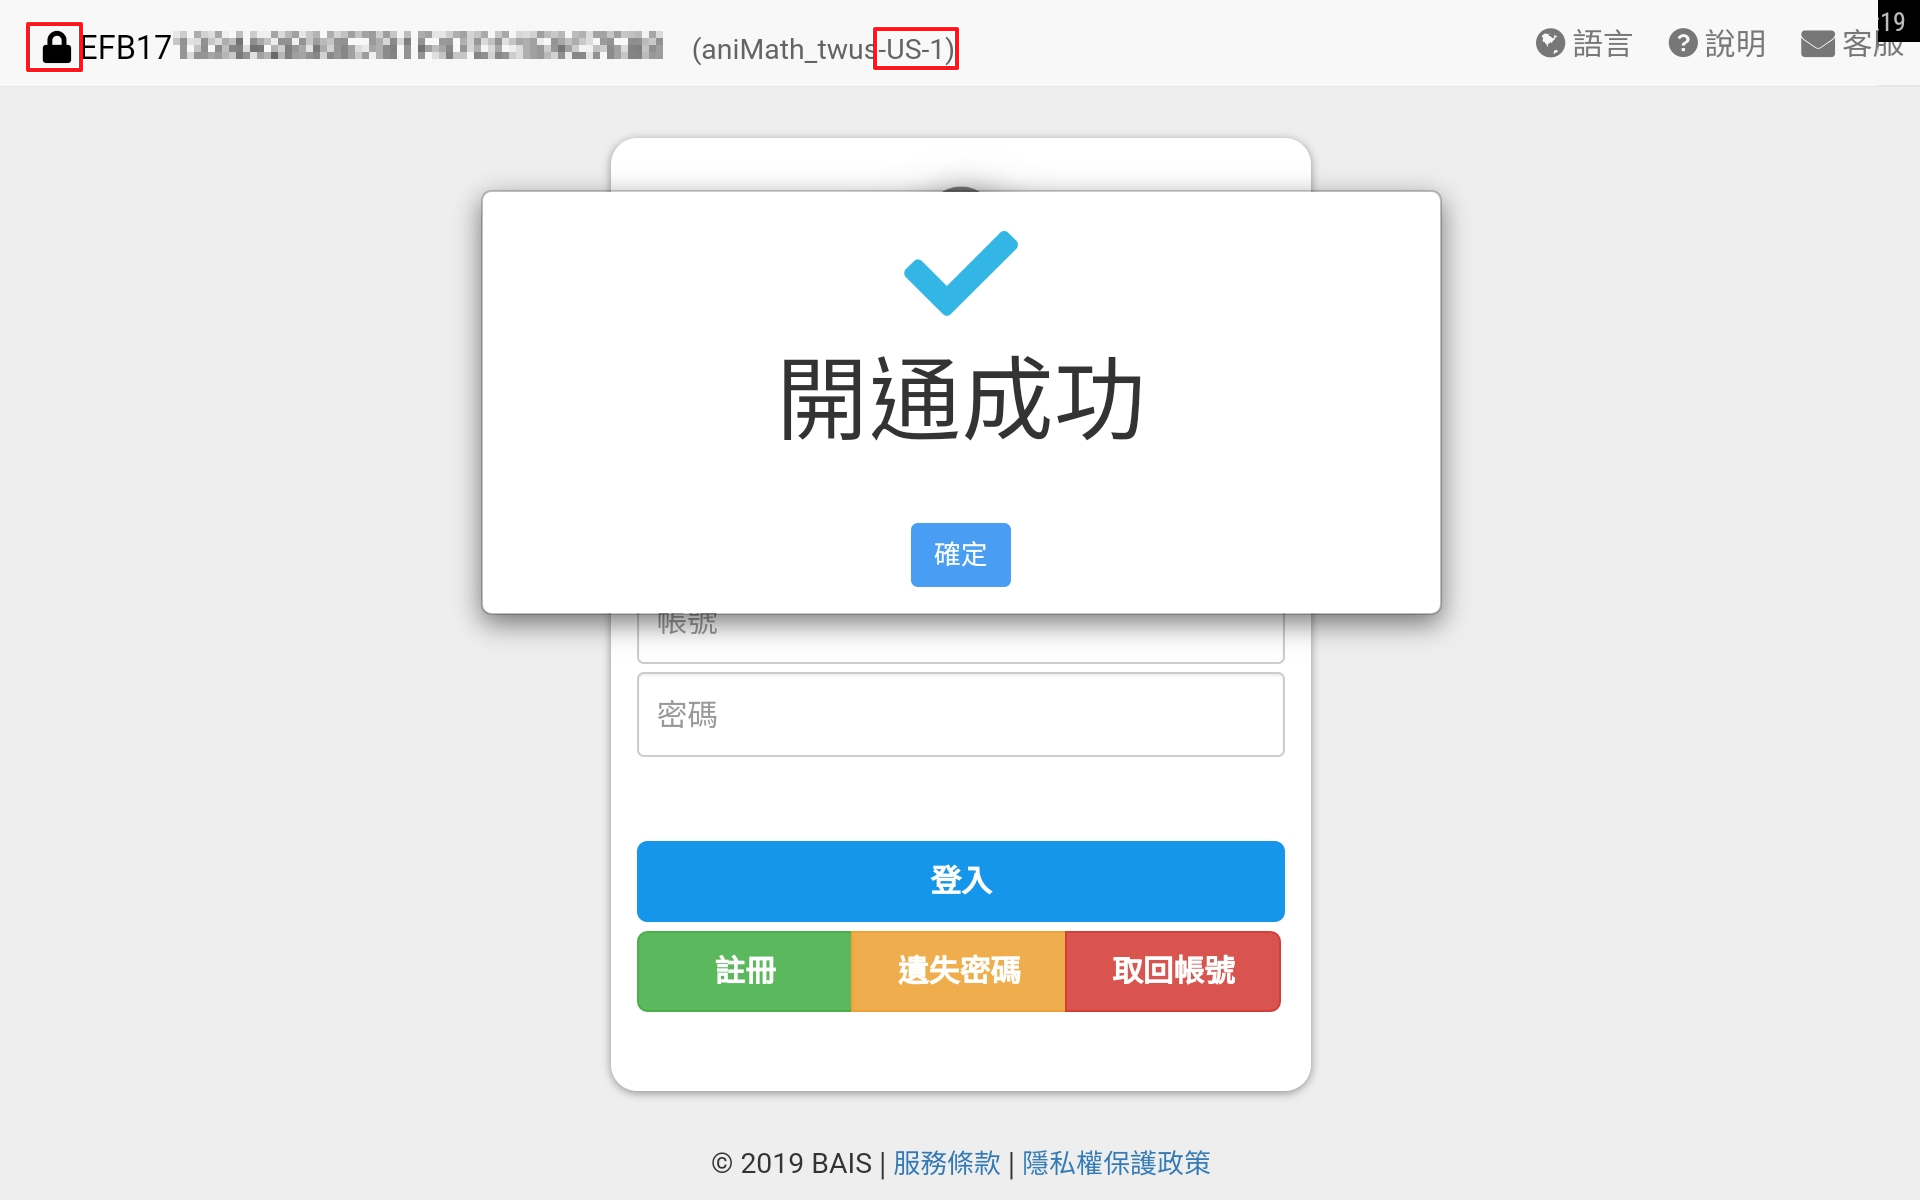
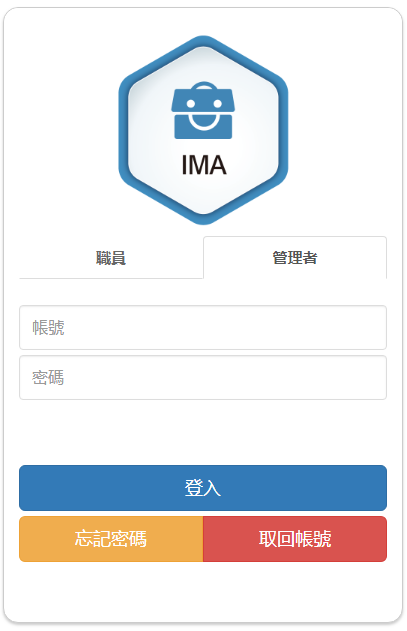
7. Click the IBC icon on your desktop, log in and start using IBC.