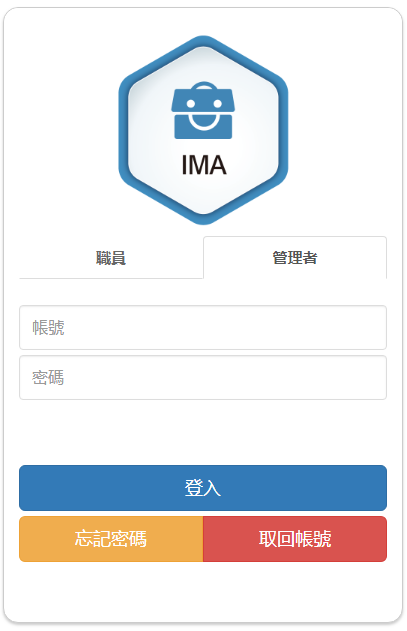
1. Log in the IMA system https://ima.ebais.net/
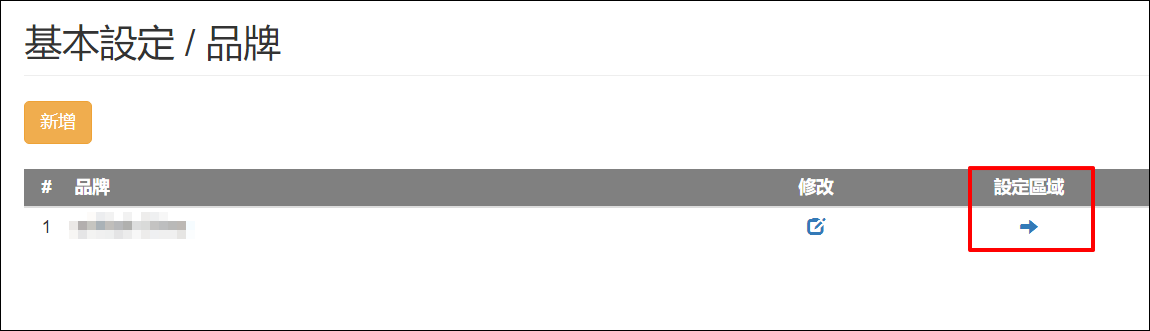
2. Enter management username/passwords>>Click Setting on the top left corner.

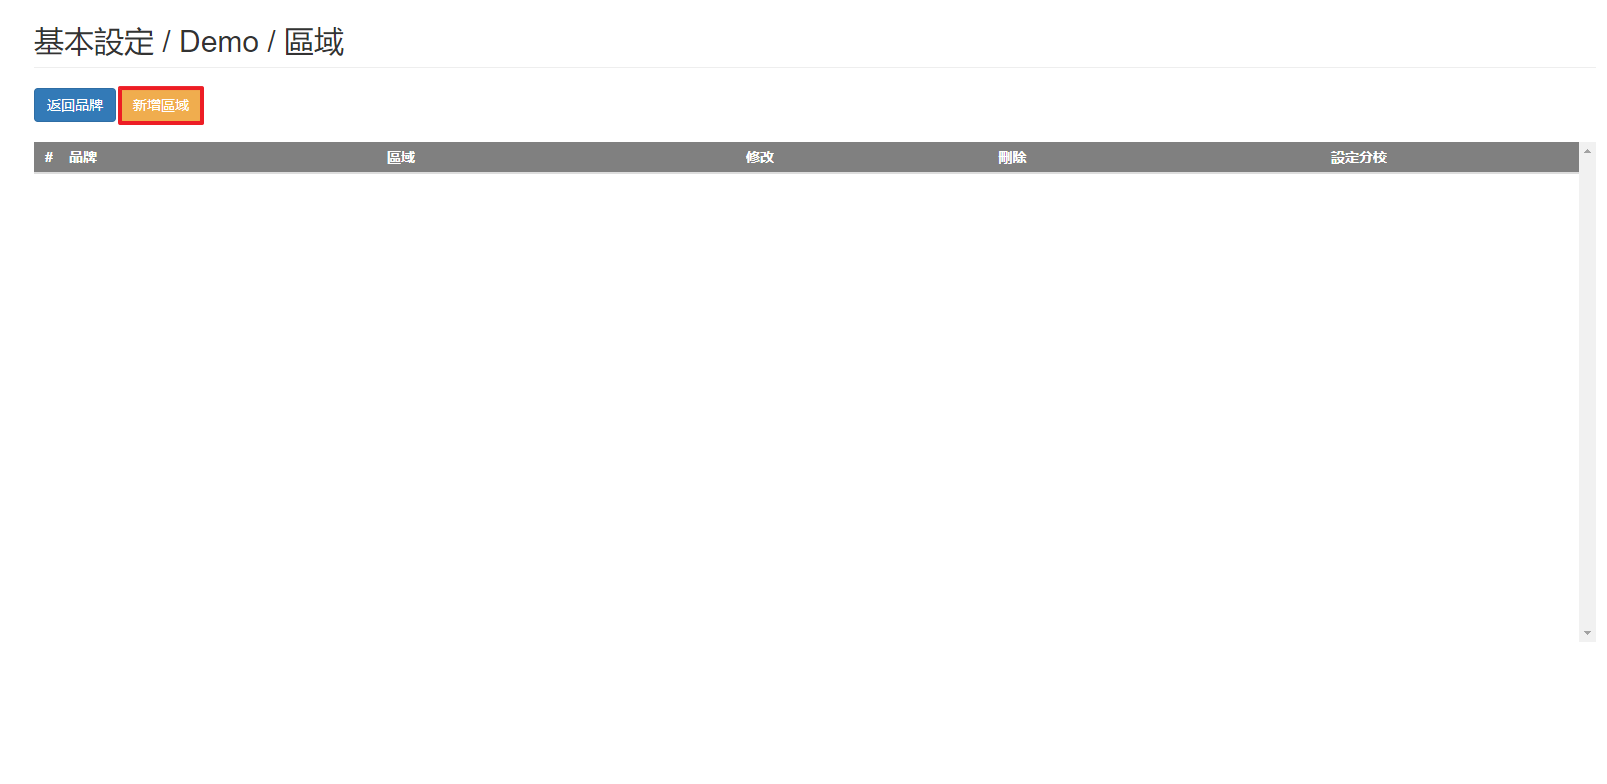
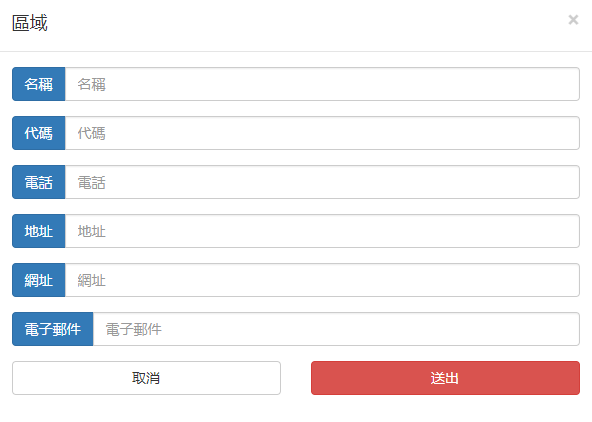
3. Click Add Region>>Fill in the information>>Send.
4. After sending, the new region will show in the region list. Now, proceed to adding new branches.
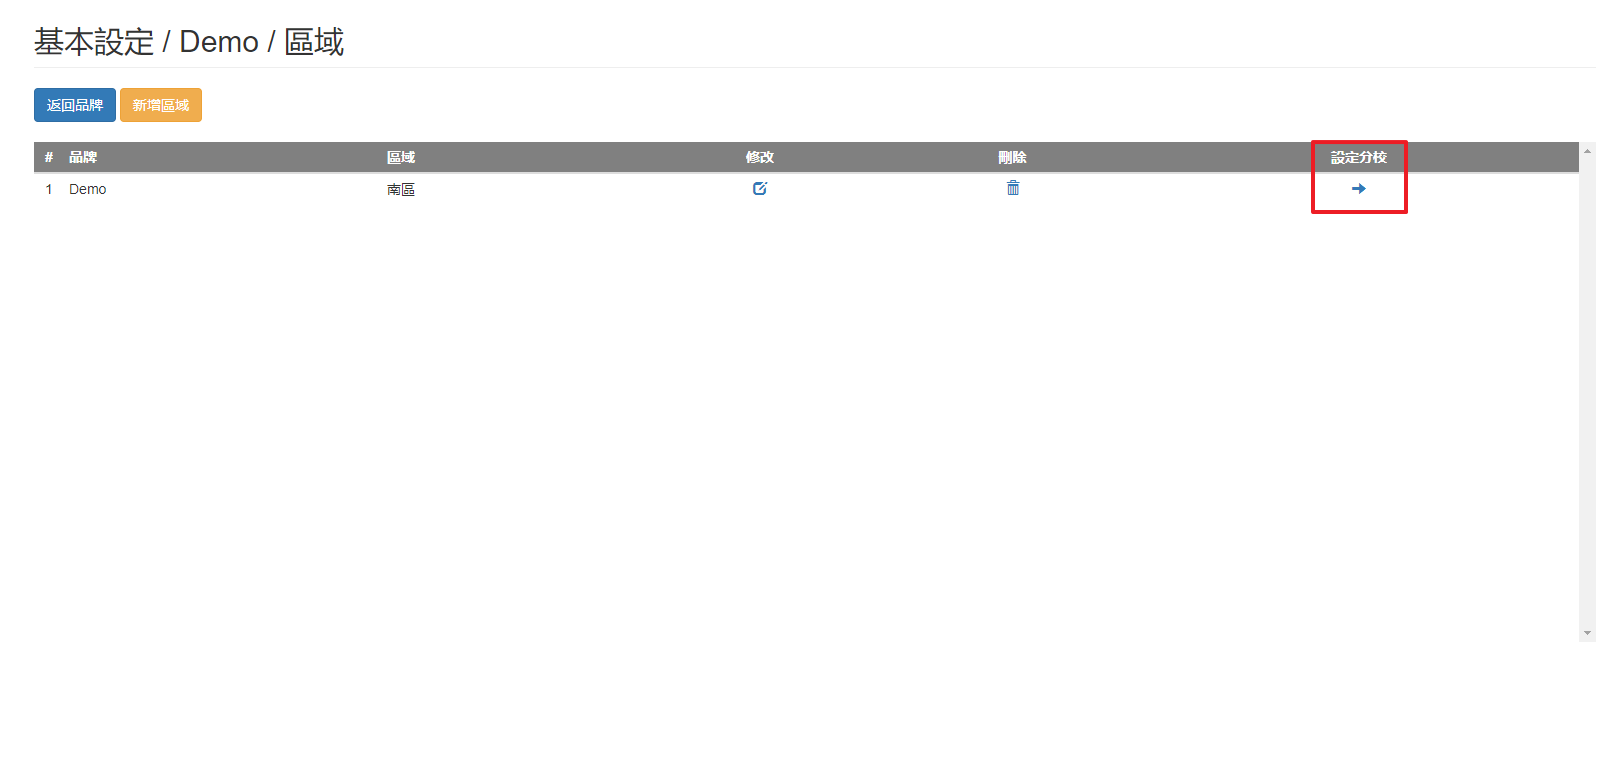
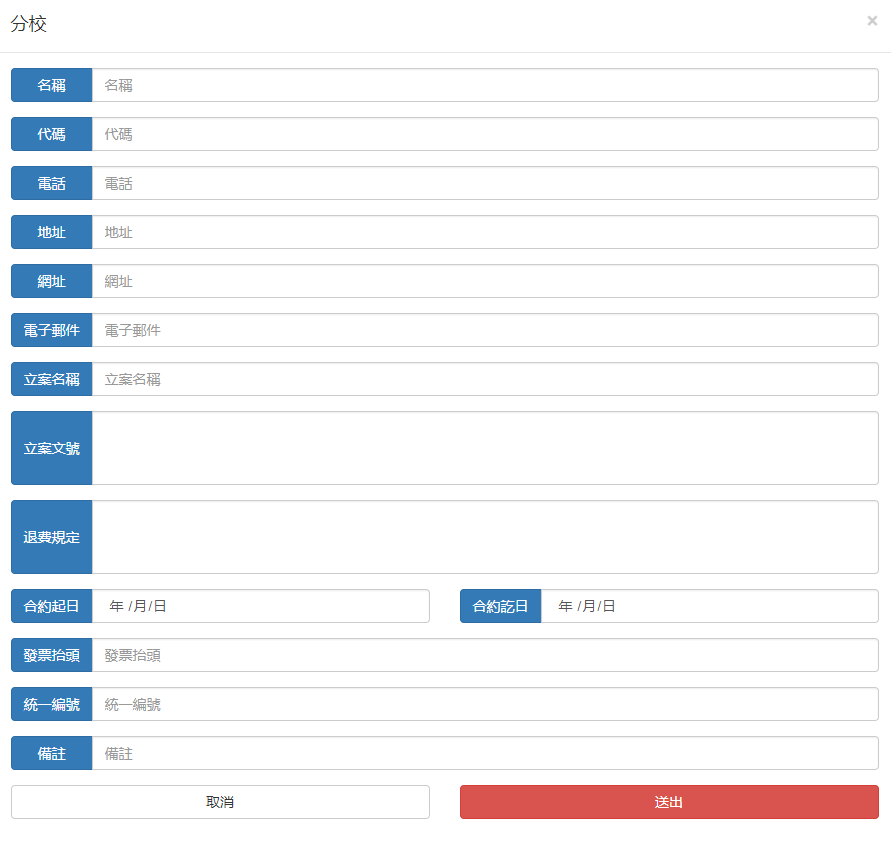
5. Click Add Branch>>Fill in the information>>Send.
6. Set the contracted period on the list>>Send.
(Only within the contracted period the branches can activate their authorization/login/get their code)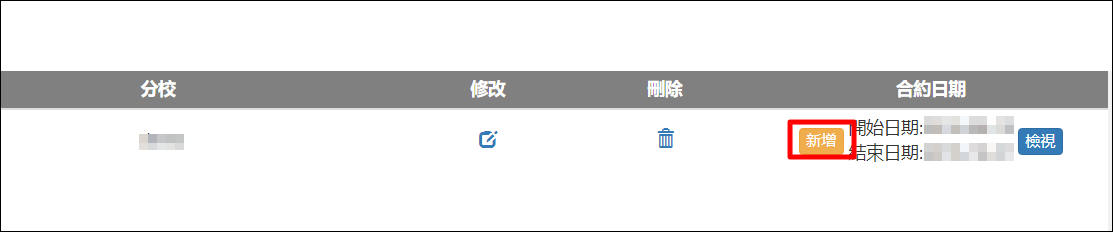
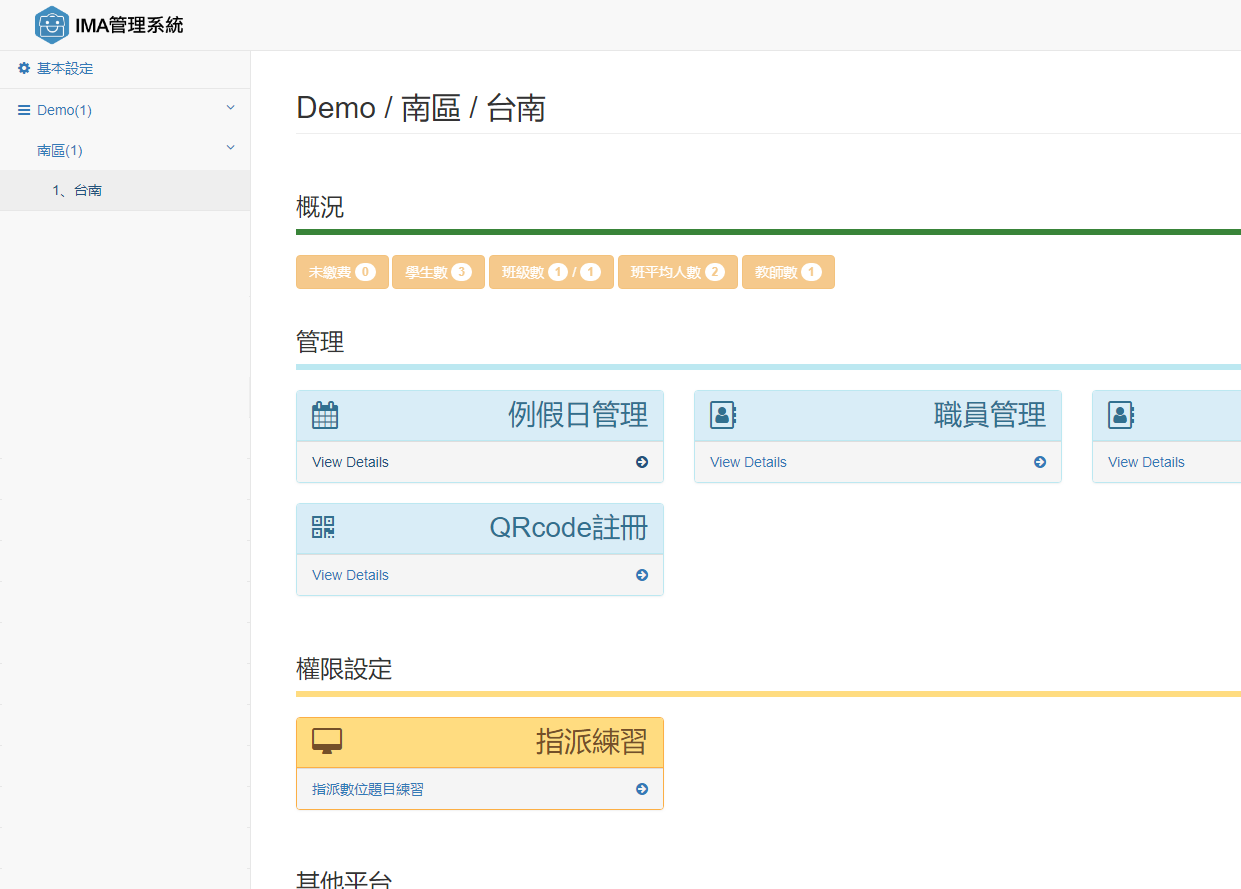
7. Complete brands, regions and branches setting。
網站管理員你好,這是一則預留內容留言。
如需開始審閱、編輯及刪除留言,請前往 [控制台] 的 [留言] 頁面進行必要的操作。
留言者個人頭像來源為 Gravatar。